how to do basic things in the gui
vkdt is structured in so called views which are specialised front-ends to perform specific tasks which occur in photographic workflow.
the basic cascade of ui views is:
file manager ⟷ lighttable ⟷ darkroom ⟷ graph editor
you can usually walk the arrows by key accel (enter/escape) or gamepad
(x/o). the way from darkroom to graph editor is special, because you will
not technically leave darkroom mode. the default hotkey from darkroom to
graph editor is ctrl-n. more precisely:
- file manager → lighttable: press enter to open the folder which has keyboard focus, press escape (or caps lock) to return to lighttable without changing folders
- lighttable → darkroom: press enter to open the most recently selected image in darkroom mode
- darkroom → graph editor: the default hotkey is
ctrl-n - darkroom ← graph editor: press escape (or caps lock)
- lighttable ← darkroom: press escape (or caps lock)
- graph editor ← lighttable: press escape (or caps lock)
in general, you can export your work but don't have to save it.
the processing history .cfg is saved when you exit darkroom mode or switch to
the next image (backspace/space or L1/R1).
labels and ratings vkdt.db are saved when you switch folder or exit vkdt.
the positions of the 2D node graph layout are saved to disk when you exit the graph editor view.
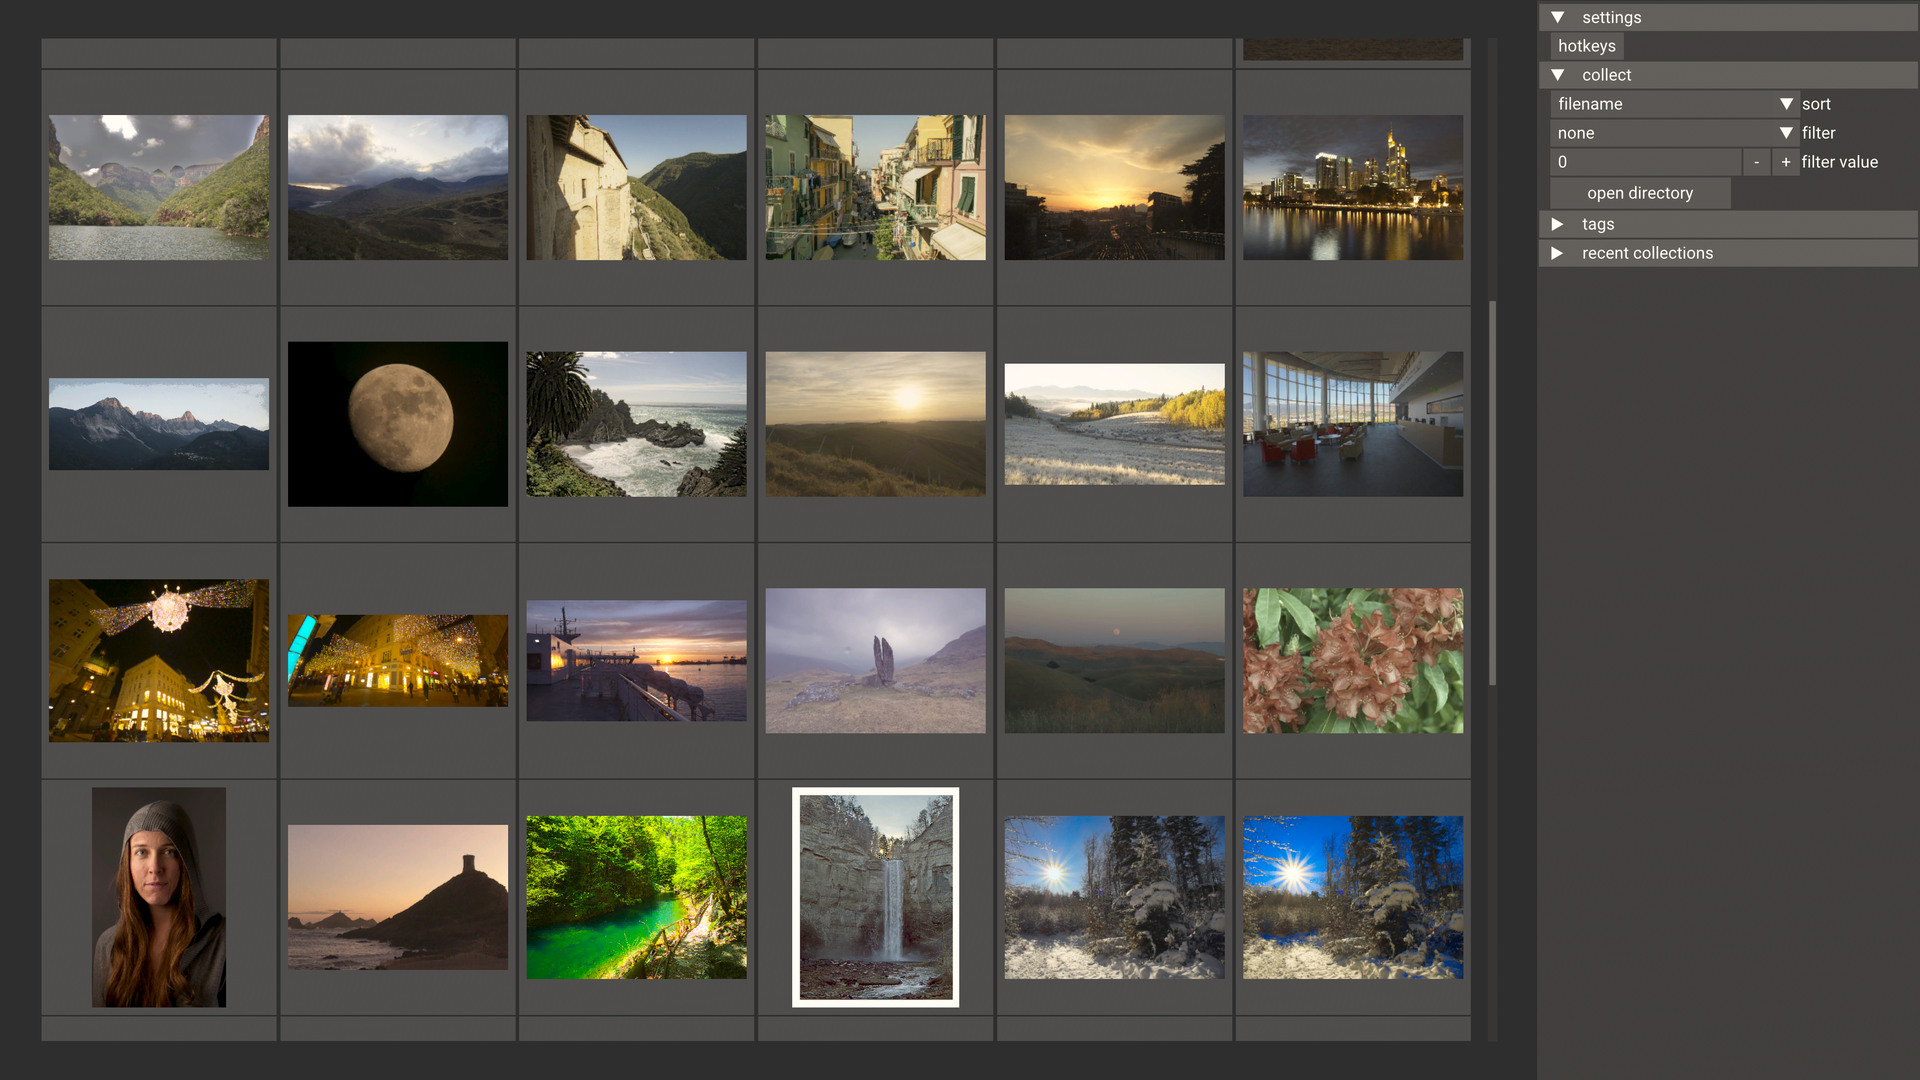
file manager
this is a basic file manager which allows you to navigate to folders and to mount external drives and import images from them. import here means the images will be physically copied to a folder on your hardrive. there is no database backend that ingests the images, you can use any other tool to copy the data from SD/CF/whathaveyou card too.
lighttable
in this view you can look at a folder of images. you can do basic sorting and
filtering (see widgets in the right panel). the images listed in one lighttable
session always correspond directly to a folder on disk. collections formed by
tags are symlinks in a folder in ~/.config/vkdt/tags/.
in particular this means there is no obscure database that holds references
to your images and needs to be synchronised.
you can copy/paste edit history between images and export a selection here.
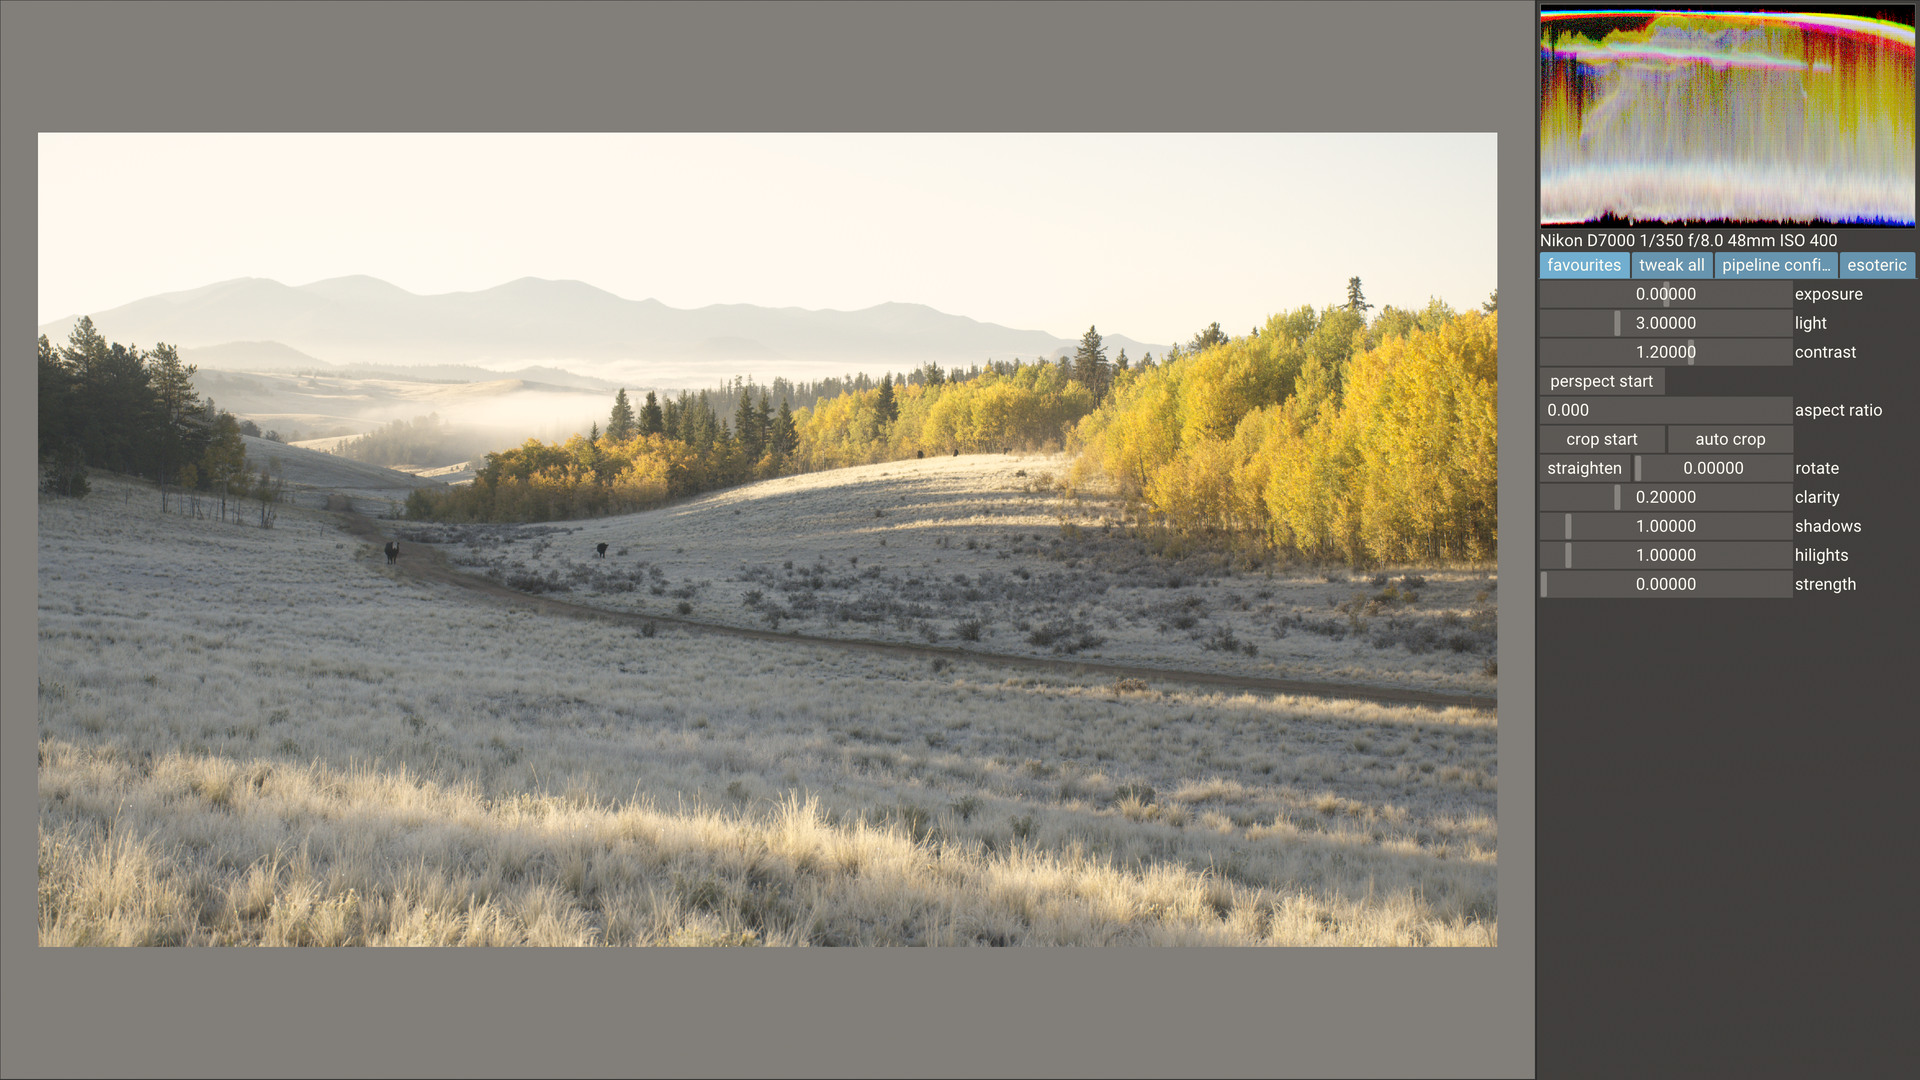
darkroom
this view allows you to edit the image. it is focussed on changing parameters of the modules. there is a customisable favourites tab which allows you to access frequently required parameters quickly without searching the whole lot.
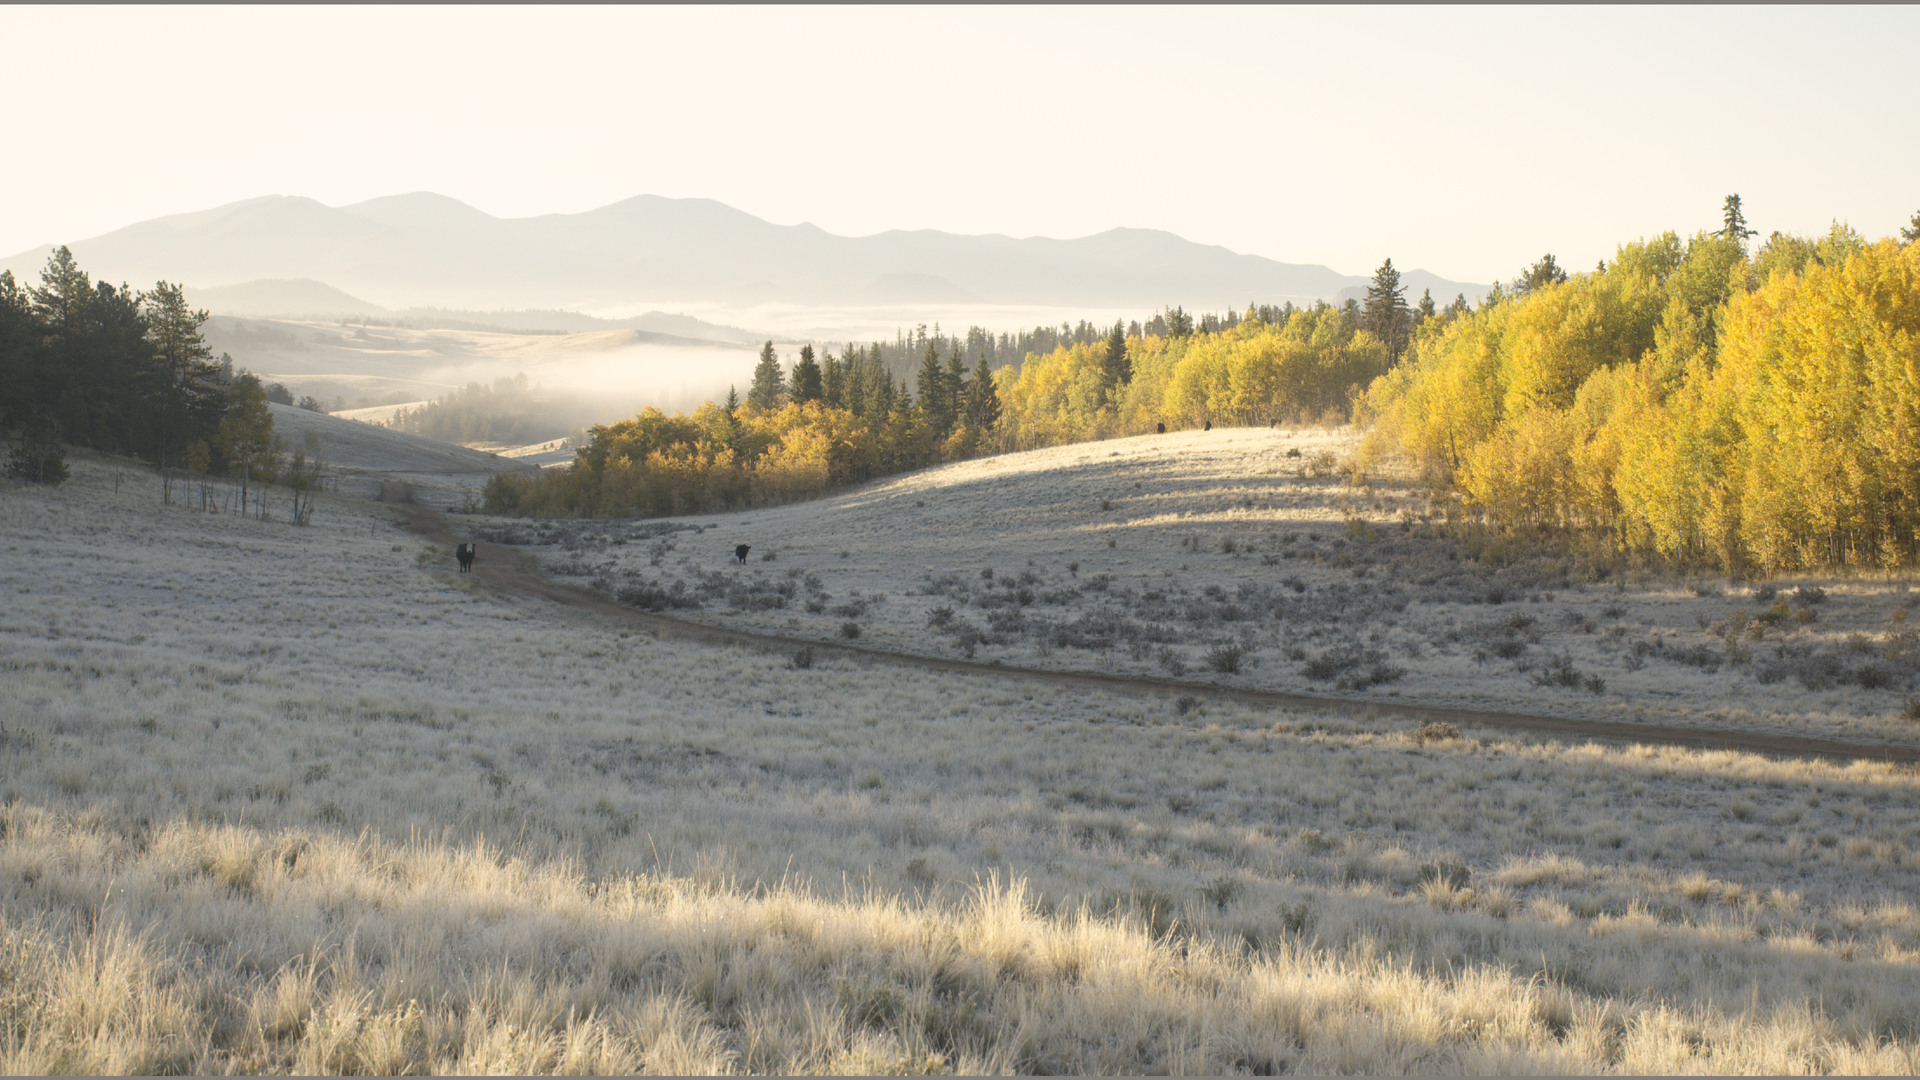
press tab for a fullscreen mode that only shows the image (bottom), not the
controls in the right panel. press ctrl-h (default hotkey) to show the edit
history panel on the left which also allows you to roll back changes.
the pipeline config tab lets you do limited changes to the graph configuration by adding or moving around modules.
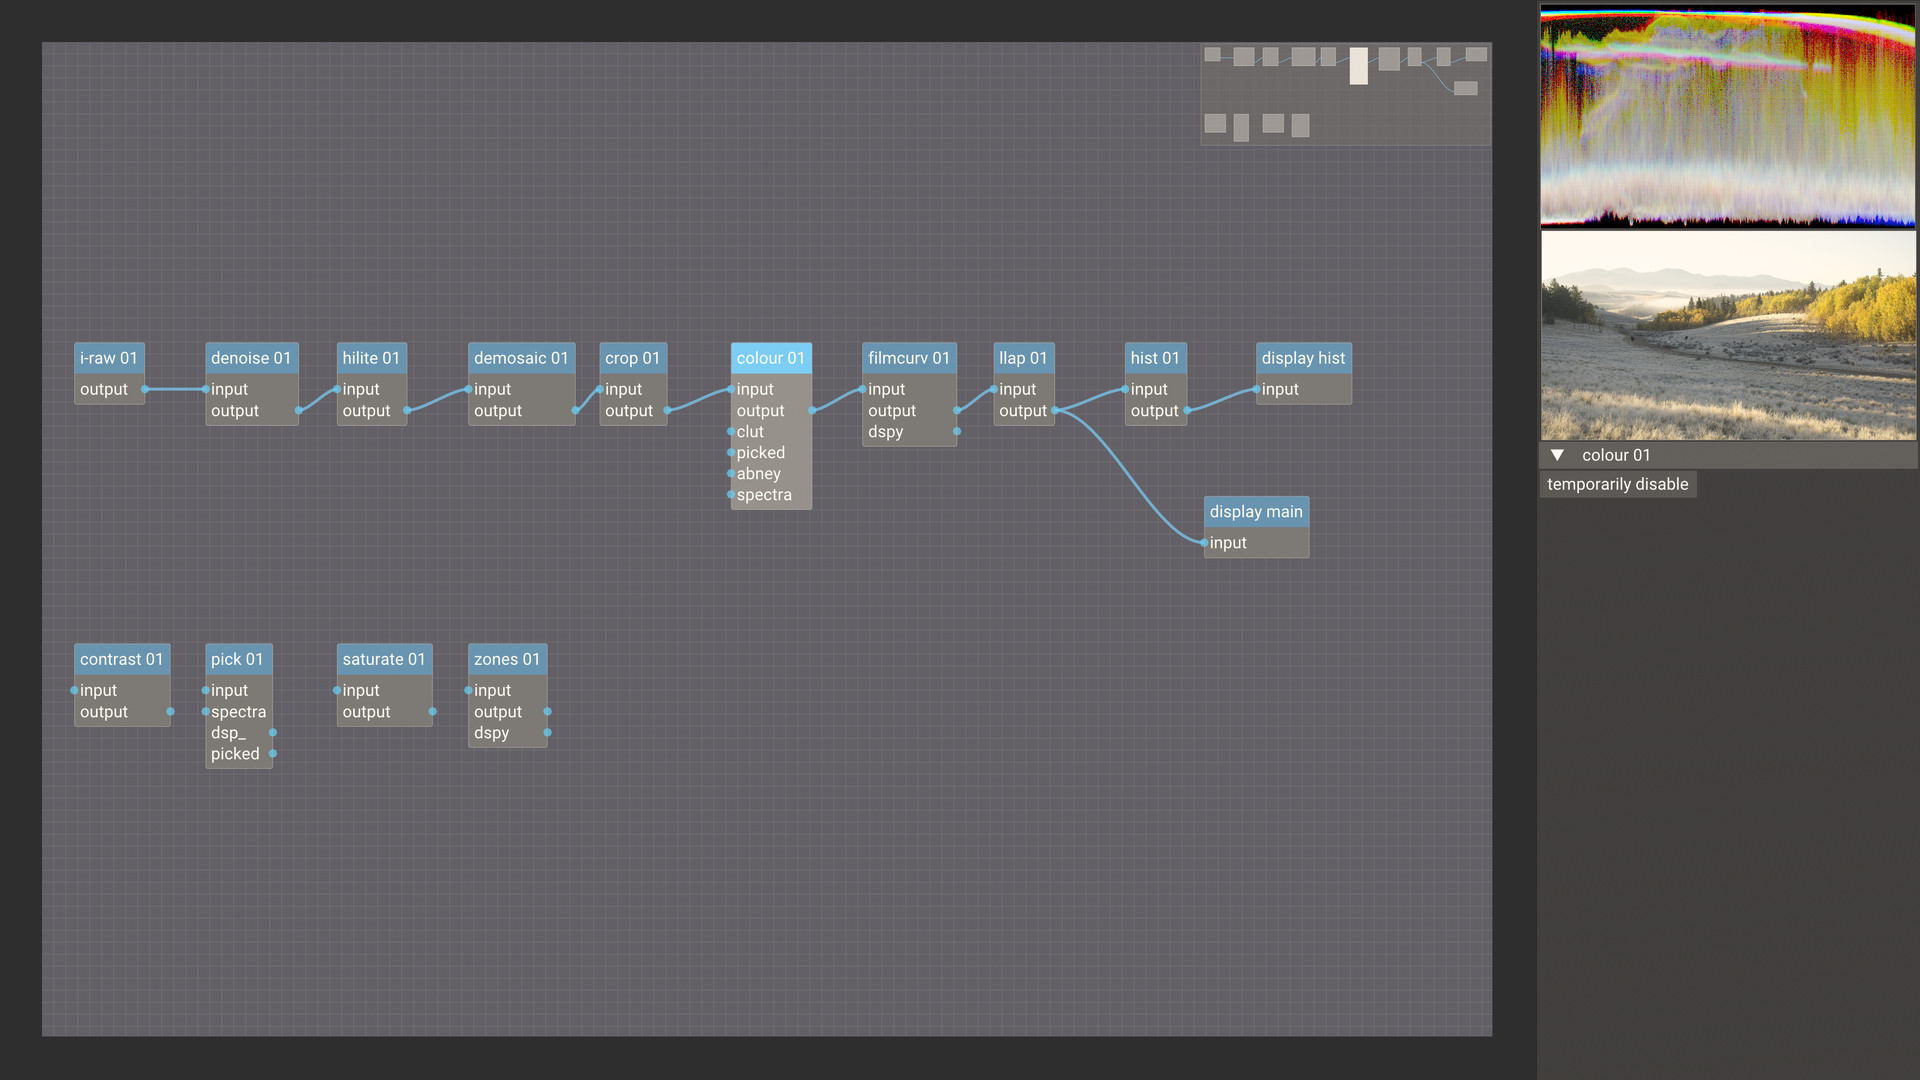
graph editor
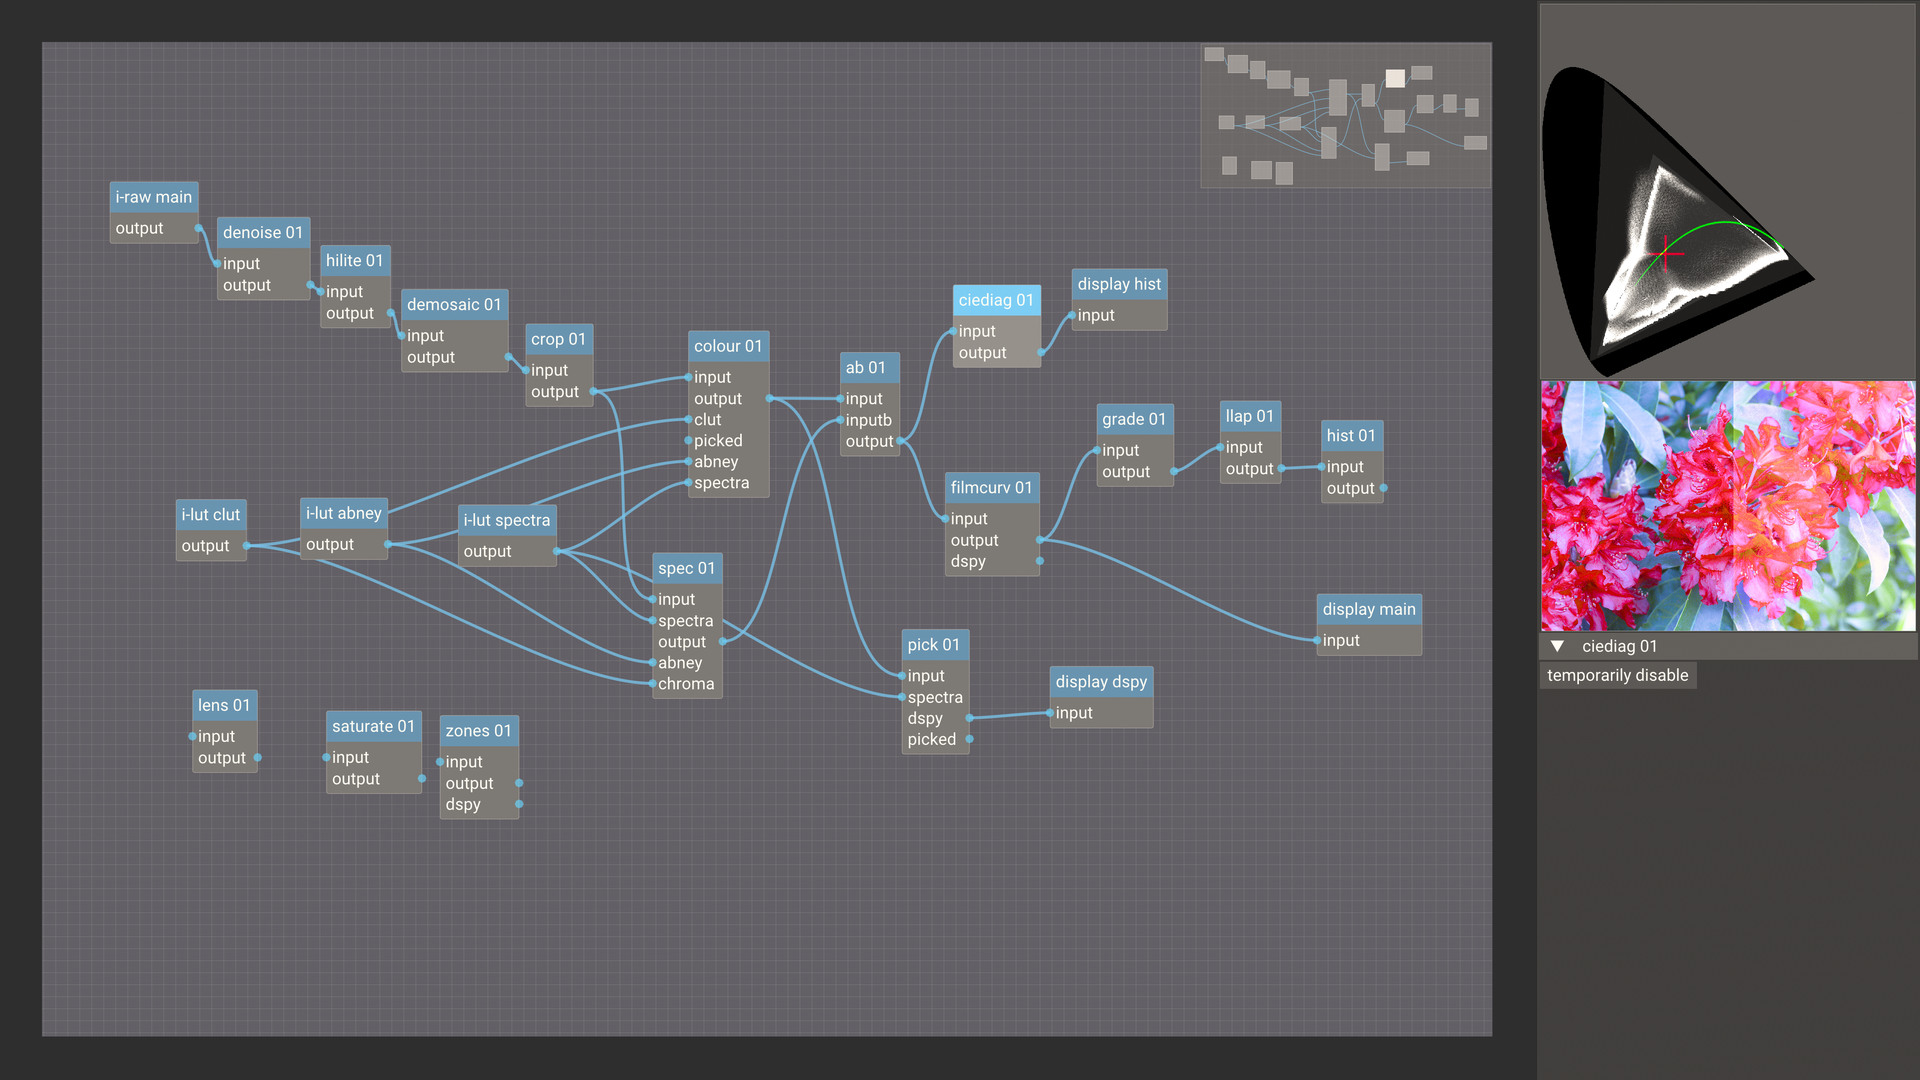
for complex editing graphs it is useful to view them in a more generous 2D layout. the graph editor offers most screen real estate to the node graph and, as a trade off, only shows small images in the right panel. this view does not provide means to change parameters of the module, it is only useful to create and visualise the graph structure.
this is mostly useful for slightly more complex graphs:
basic interaction with the graph:
- drag a read (or write) pin to a write (or read) pin to connect
- drag a read pin into the void to remove a connection
- drag and drop a disconnected node on top of a link to insert the node
this last point only works if the node is simple, i.e. it has a clearly
defined chain of an input connector to an output connector and does not
depend on additional inputs which would be left unconnected here.
note that this view shows the module graph. this is already an abstraction from the underlying node graph in which a single node directly corresponds to a compute shader kernel executed on the GPU. these nodes will be constructed internally and are not usually a concern for the user.
however, sometimes it is necessary or convenient to abstract even more and quickly
insert a whole set of modules and set a bulk of parameters. this can be
achieved by presets, which basically just append a
fixed list of commands to the graph .cfg.
you can do this in the right panel if you selected a module on the graph.
special instance names
there are a few instance names that will trigger special behaviour in the graph:
mainas the input module: this one is responsible to propagate image information further down the graph, such as camera maker and model and noise profiles.mainas a display module: this will determine the output dimensions and will show as large image in the center part of darkroom mode.histas a display module: this will show as the histogram view in darkroom mode and the graph editor.view0andview1as display modules: these will be shown in the gui as additional images. onlyview0in darkroom mode and both in the graph editor.dspyas display module: this is a special display that will automatically and temporarily be created and connected to the currently active (last expanded) module, if it has adspyoutput. you can see it for instance in thefilmcurvmodule.
general remarks
rate, label, tag
colour labels f1-f5
star ratings 1-5
tag ctrl-t
these key accels work in both lighttable mode (on the whole selection) and in darkroom mode (only on the single edited image).
hotkeys
can be customised for each view separately in the gui via settings→
hotkeys. some keys are special and not in the hotkey system.
f11 goes full screen
ctrl+x quits the application

