filmsim: artic's sophisticated spectral analog film simulation
this is an implementation of Andrea Volpato's spektrafilm. for a nice introduction see this post.
this module is best activated by applying the filmsim.pst preset. this will
take care of wiring the required input look up table files (shipped with the
vkdt installation). if you want to wire yourself, connect data/spectra-em.lut
and data/filmsim.lut to the spectra and filmsim connectors, respectively.
for self contained documentation, i'm summarising from arctic's post here.
the true color of film negatives
when researching film, the key takeaway is that the final colors depend heavily on the second stage of the imaging process, whether it's the scanner's color processing or the analog RA4 color reversal printing process. analog printing seemed like the most authentic way to define the look, especially since companies (primarily Kodak) spent decades refining it.
there are nice book chapters on simulating the full analog pipeline of color photography [1,2,3]. film emulsions are quite sophisticated, relying on finely tuned chemistry with silver halides, several dye couplers, and a pinch of magic.
for anyone interested in film manufacturing, check out the series of videos by SmarterEveryDay on Kodak ( How Does Kodak Make Film? series of 3, The Chemistry of Kodak Film, Kodak's Film Quality Control Process).
goal and motivation
the goal is to simulate the entire analog photographic process, from film capture to the final print, using only the datasheets and basic knowledge. to capture the look of products from Kodak and Fujifilm starting from publicly available spectroscopic data. for example, Portra film and its matching paper are designed to deliver subtle hue shifts and perfect contrast for skin tones, while consumer films and paper are more saturated and versatile. how much of these characteristics can we recreate from scratch?
while film simulation LUTs share similar goals, they often lack the flexibility to be fine-tuned. in contrast, a fully physically based pipeline can better reproduce the real-world versatility of the negative plus RA4 printing process by offering adjustable parameters to tailor the final look. naturally, this approach also brings along the inherent limitations of analog photography, so you need to appreciate (or be nostalgic for) the analog process to embrace these constraints.
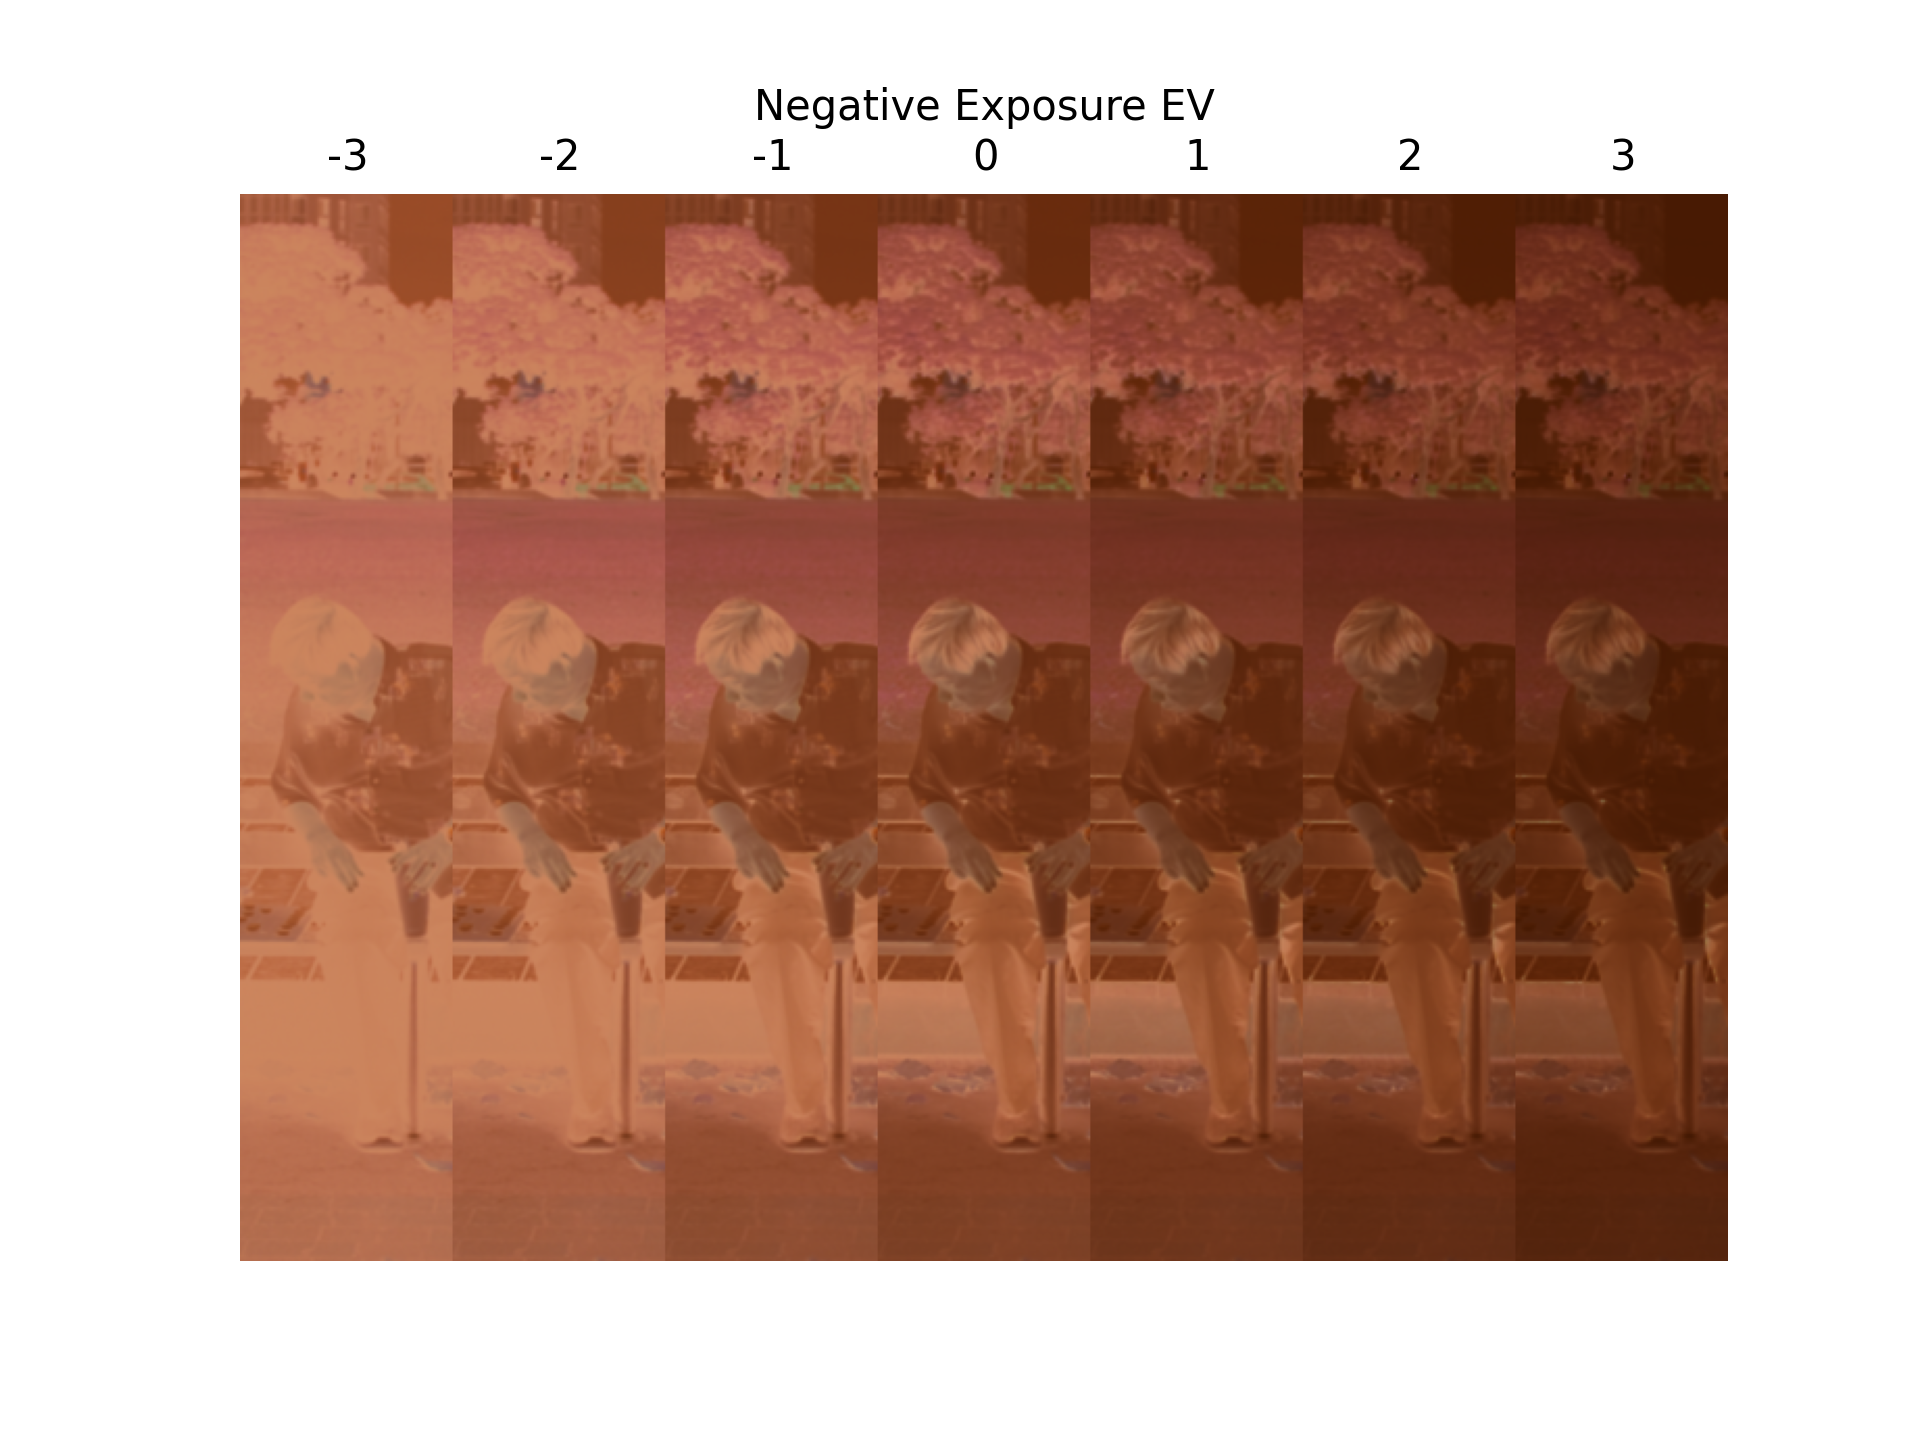
negative and print exposure
parameters: set process to expose and scan negative to output the negative,
ev film and ev paper are the negative exposure and print exposure
here are some test-strips to introduce the capability of the simulation. the overall imaging process is split in two steps: negative and print. two different exposures can be controlled, and color filters in the enlarger can balance the colors of the print. here are virtual scans of Kodak Gold 200 at different exposure compensations of the negative.
the following strips are virtual prints on Fujifilm Crystal Archive Type II at different print exposures (and constant good negative exposure).
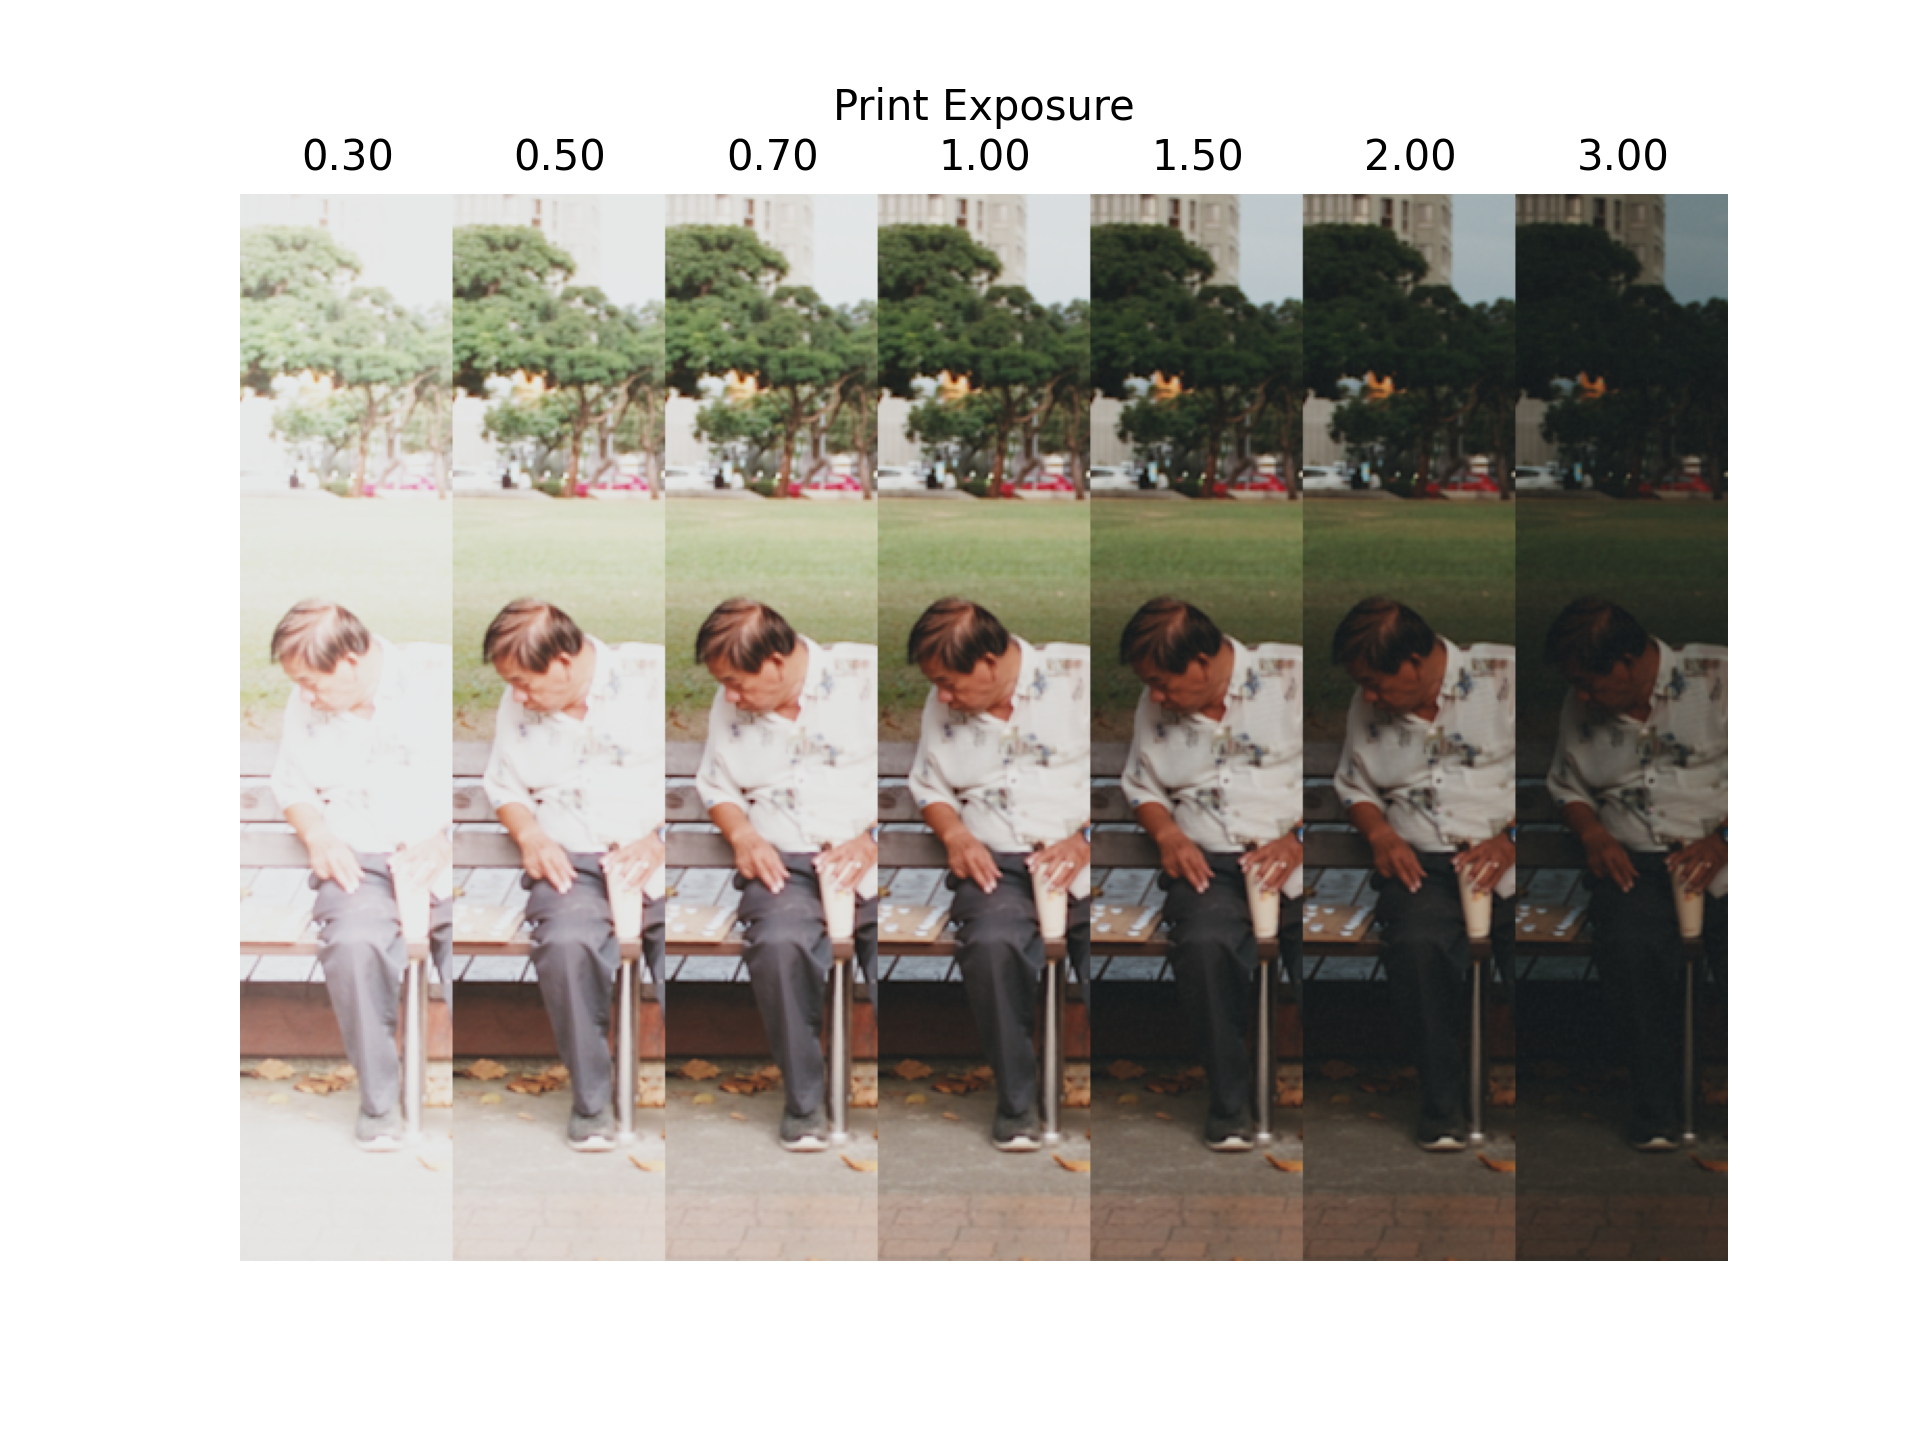
raw file taken from this Play Raw Two Taiwanese uncles playing chess, thank you @streetfighter.
grain
parameters: grain size uniform
the simulation builds three sub layers for each channel, imitating modern color negative films where each color layer is composed by 2-3 sublayers with different sensitivity to increase latitude. the stochastic properties of each layer and sublayers are imitated keeping into account that faster layers are more noisy, i.e. they have larger particles.
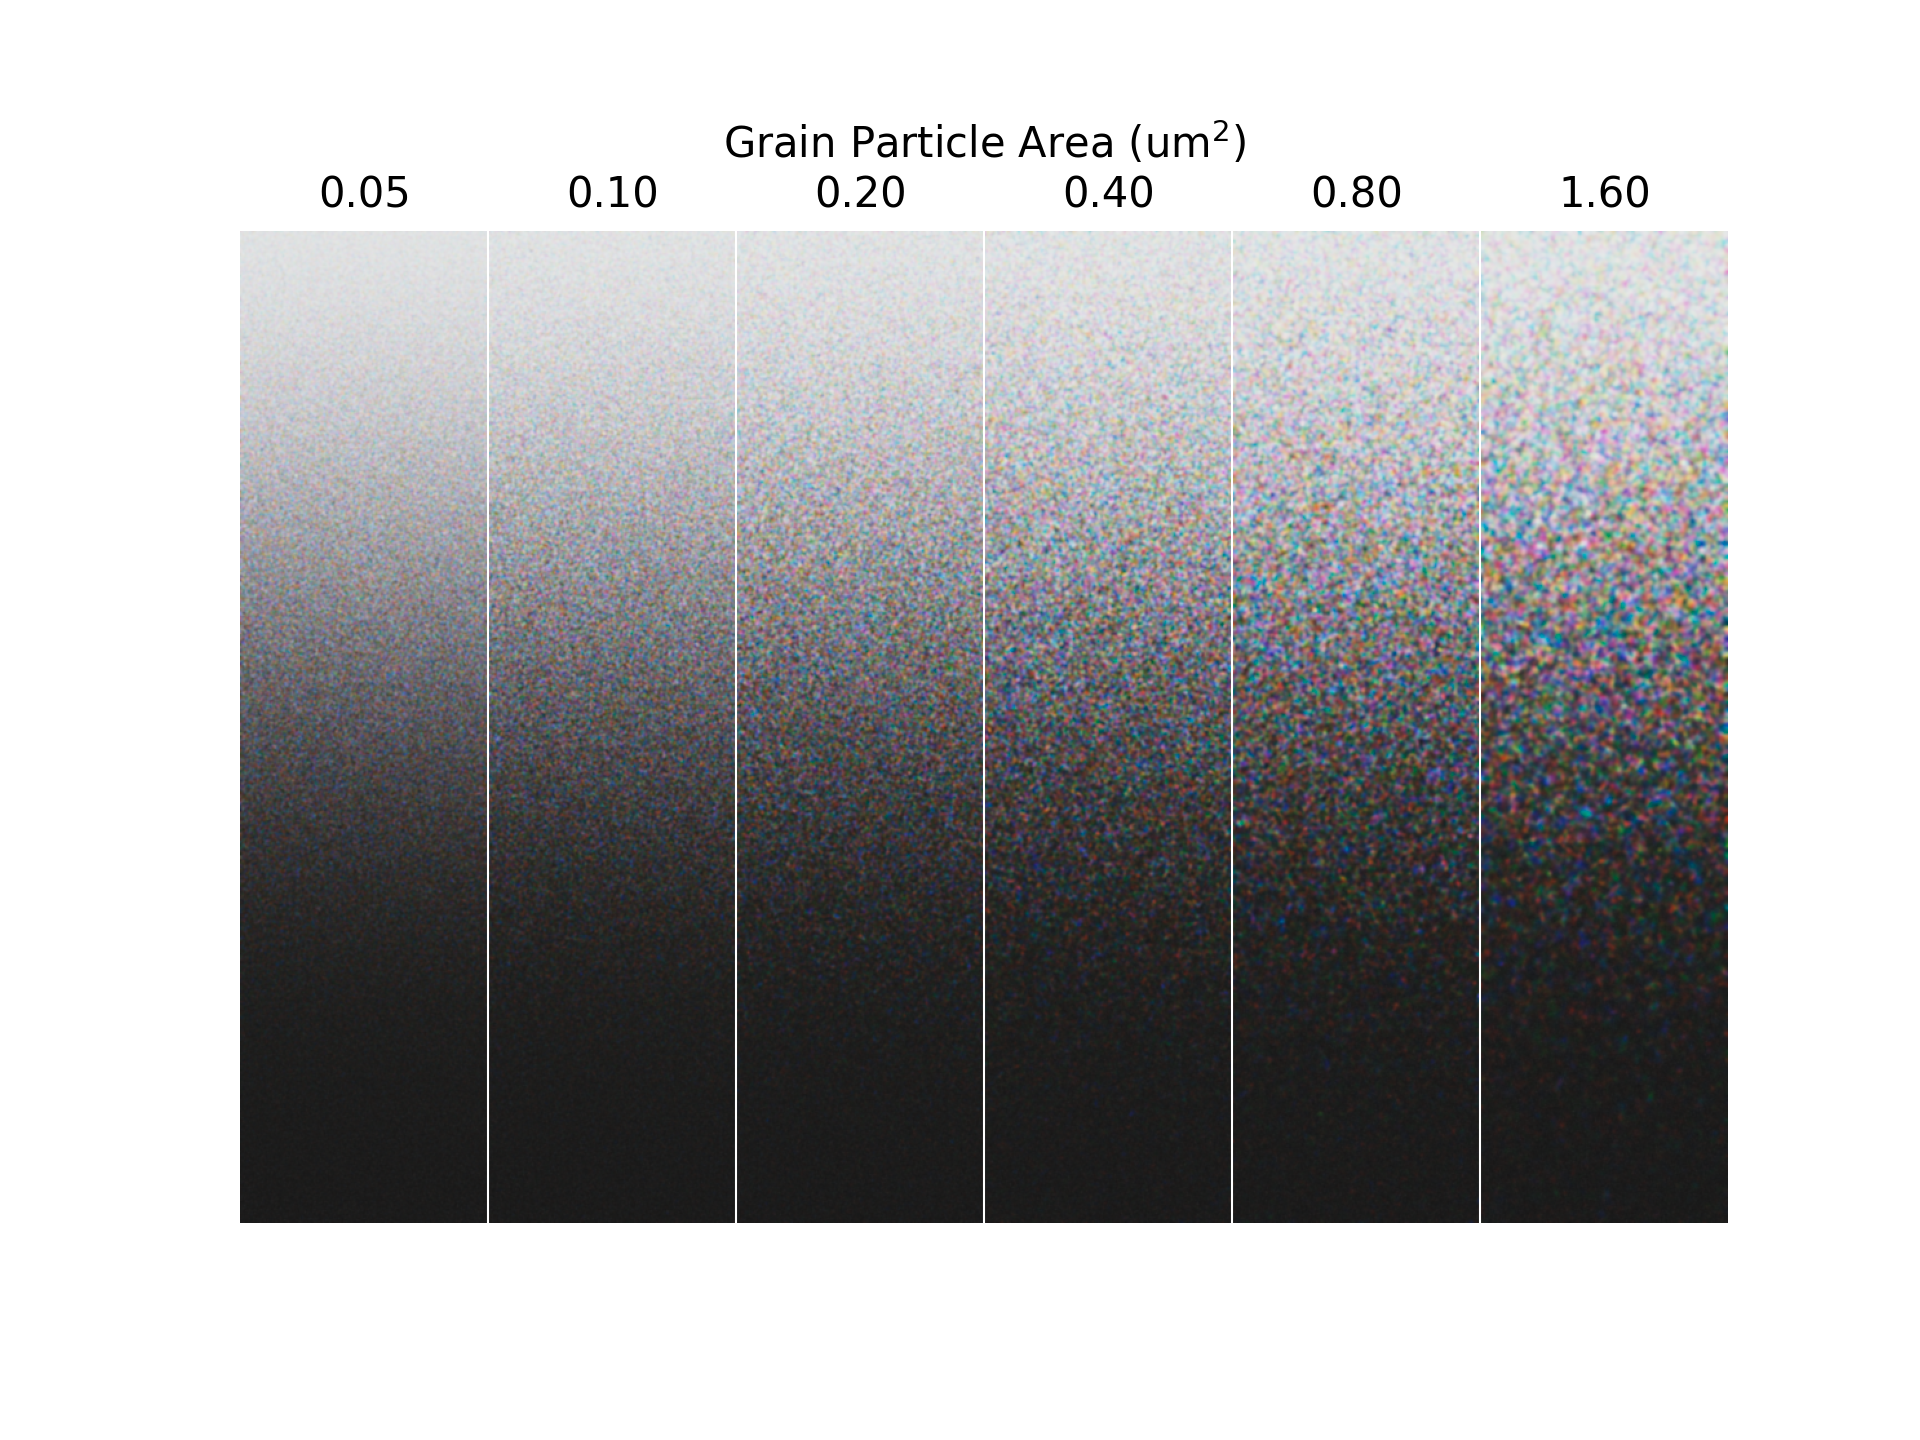
these above are a few strips of Kodak Portra 400 printed on Kodak Portra Endura with vertical size of 1 mm. The average particle areas of the virtual silver halide particles, then converted in dye clouds, is changed. in first approximation, the area of the particles should be roughly proportional to the ISO. in consumer films particles are in the range 0.2-2 micrometer diameter, i.e. 0.03-3.2 micrometer squared.
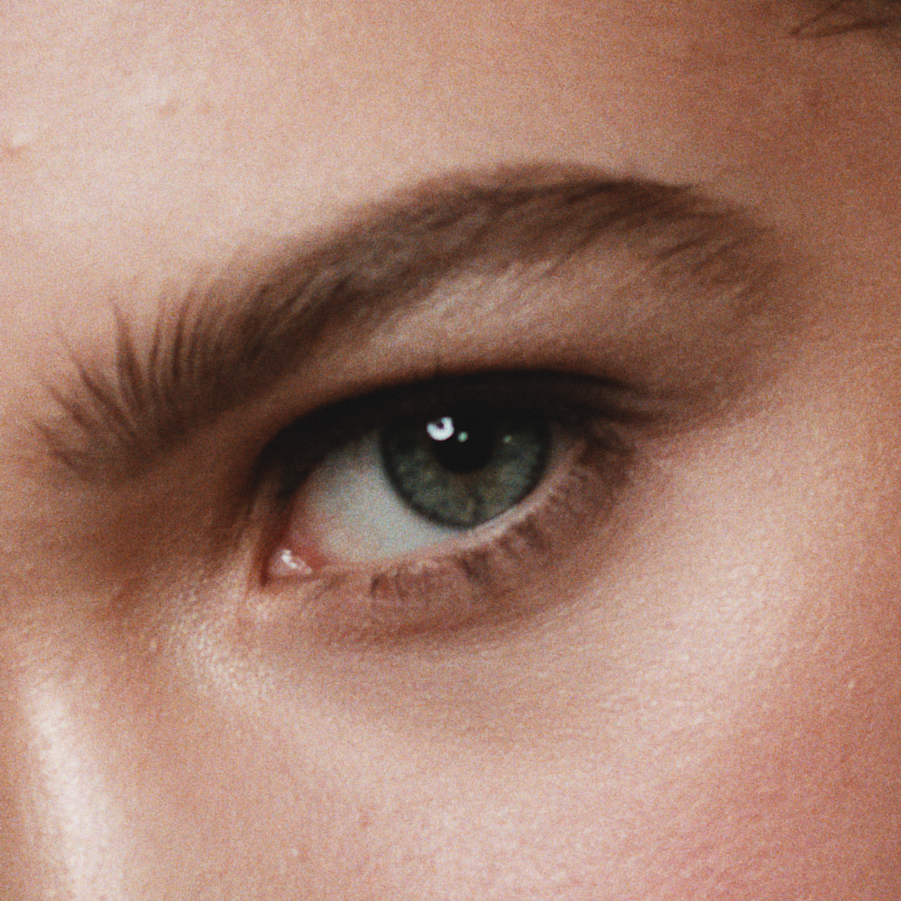
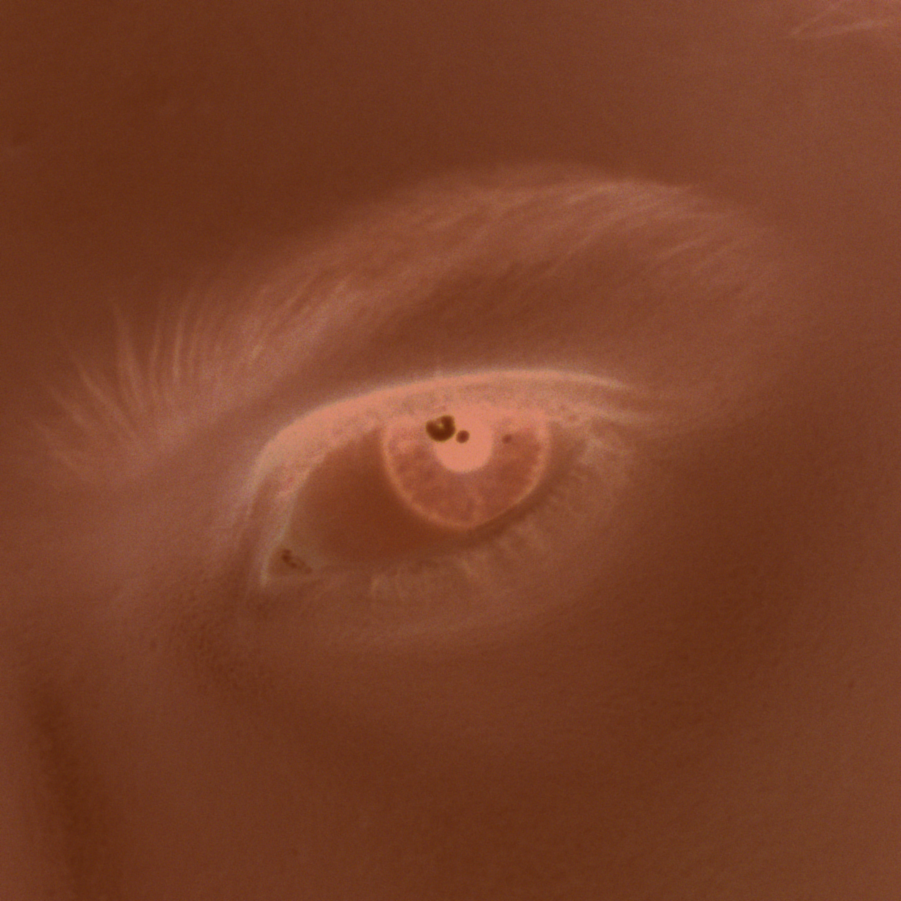
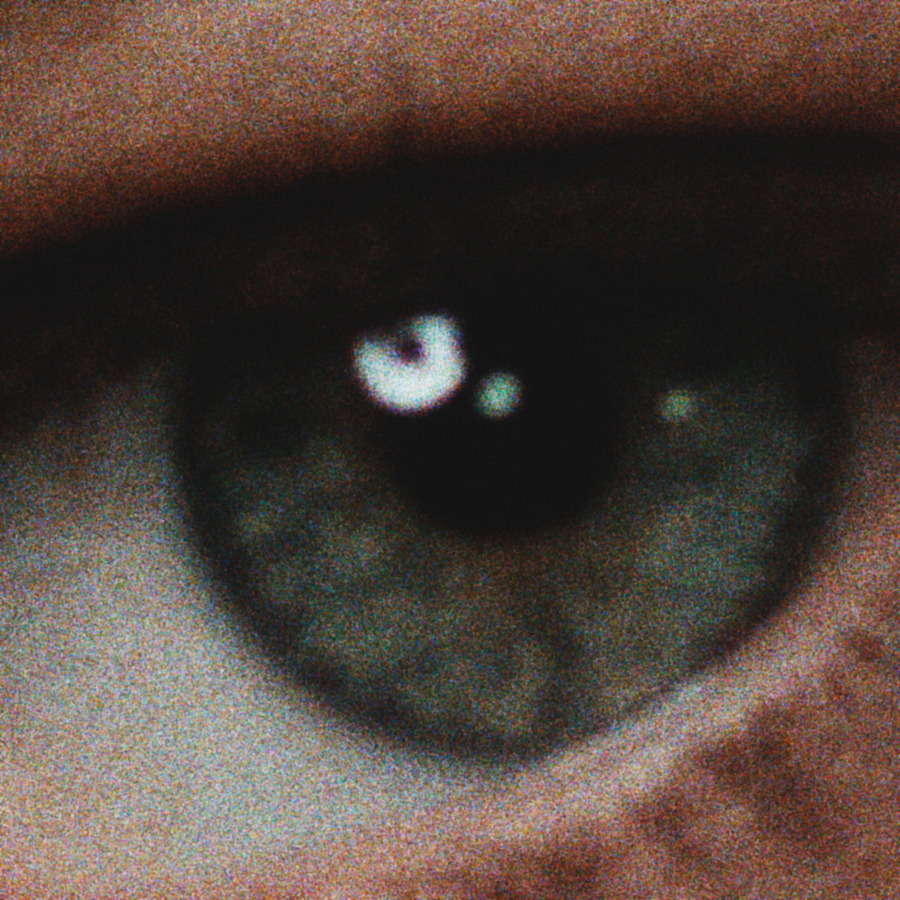
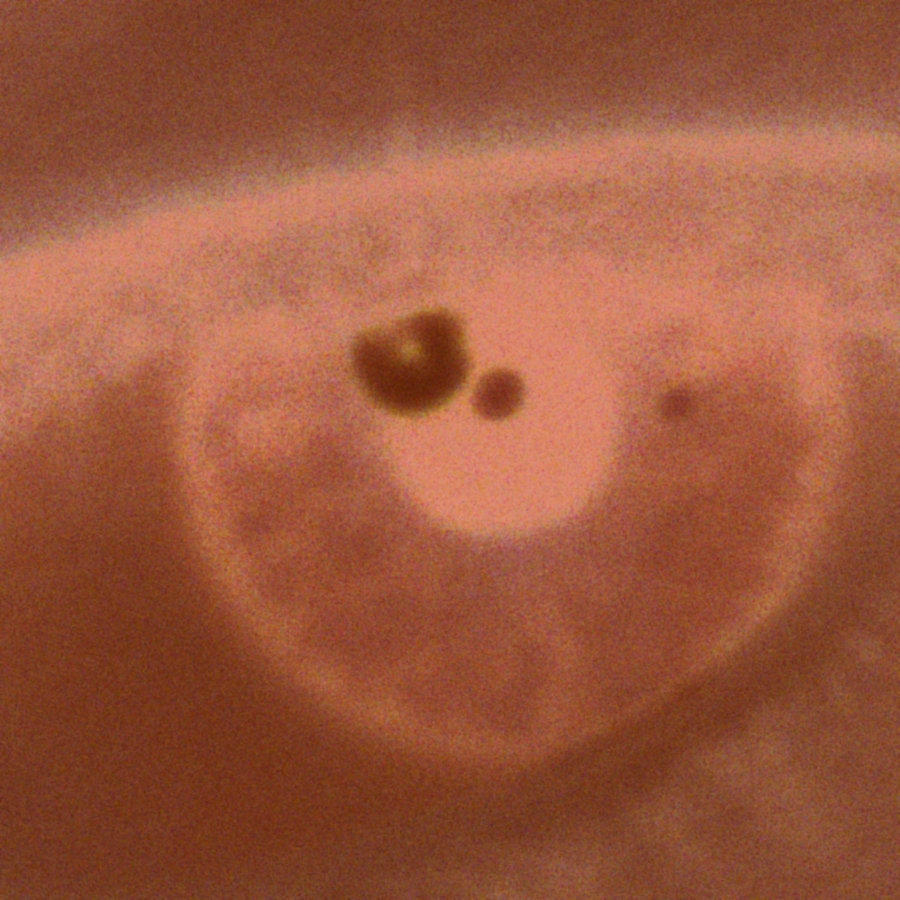
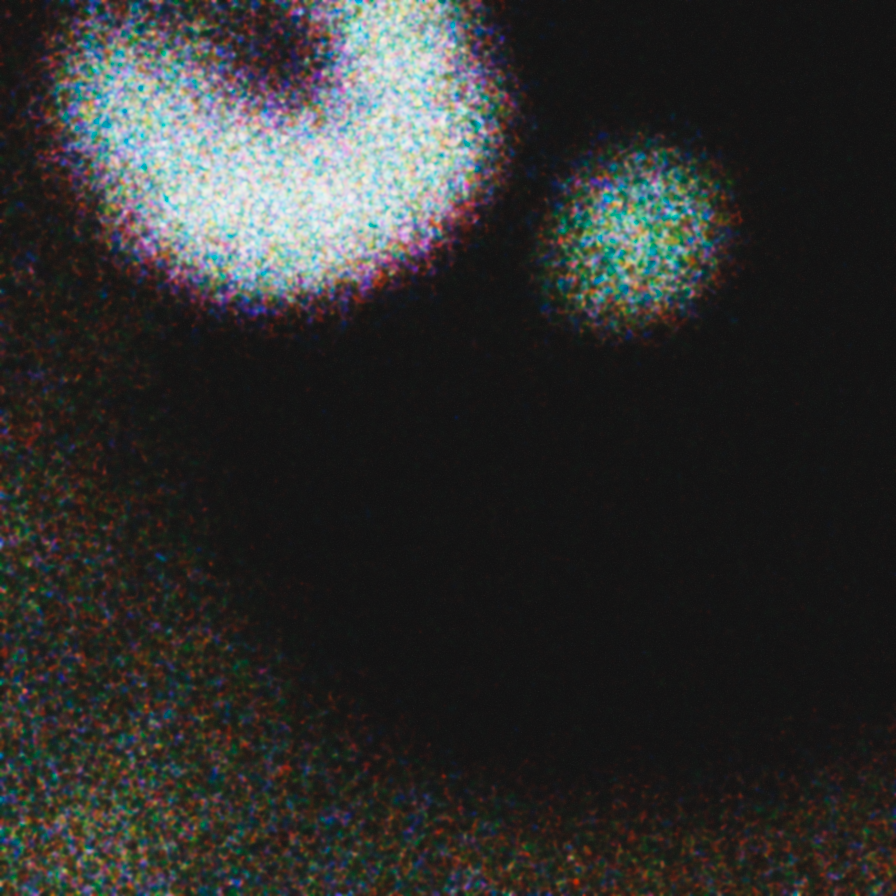
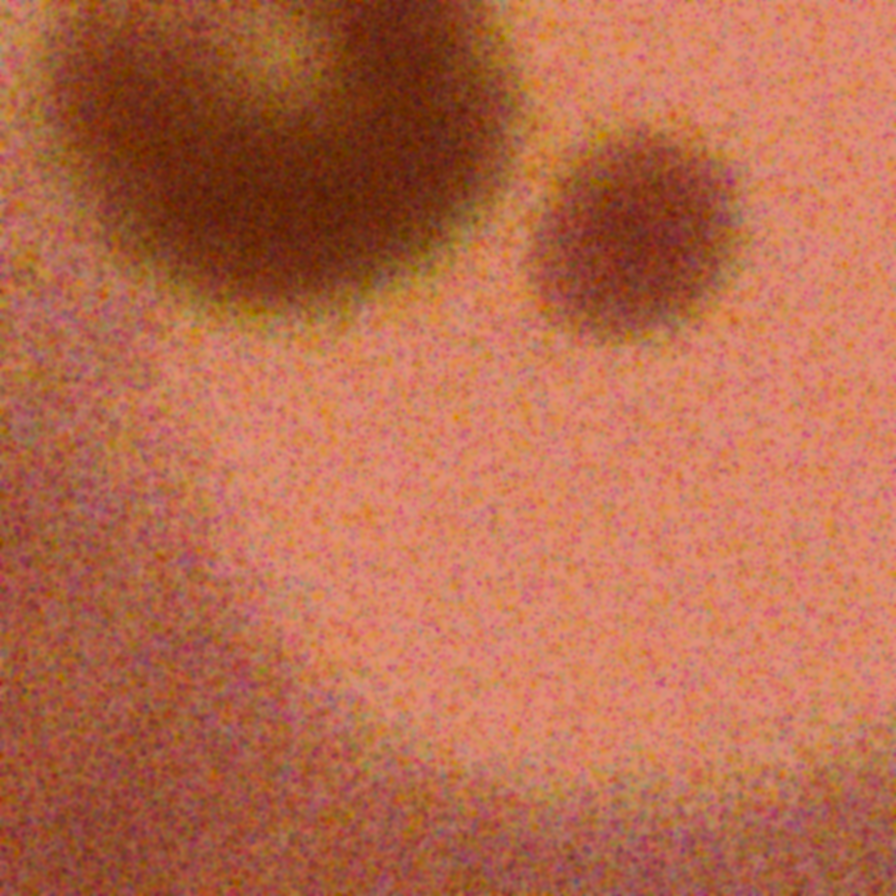
here is an example with higher magnification crops with Kodak Portra 400 and Kodak Portra Endura.
parameter: set enlarge to 2x or 4x for magnification. beware of 4x, it requires a looot of GPU memory!
| negative | |
|---|---|
 |  |
 |  |
 |  |
saturation with DIR couplers
parameter: couplers
the level of saturation of the negatives is controlled via developer inhibitor release couplers (DIR couplers). when substantial density is formed in one layer, DIR couplers are released and can inhibit the formation of density in nearby regions, both in the same layer and nearby layers. the diffusion in nearby layers of DIR couplers produces increased saturation (loss of density on the other channels, i.e. purer colors), also referred as interlayer effects. here is an example using a signatureedits.com raw file, using Fujifilm C200 and Fujifilm Crystal Archive Type II.

the filmsim data
to run this module, you need the filmsim.lut data file. it is shipped with
vkdt git and installed by default. the following steps are not necessary, but
if you want to create it yourself (and maybe play with different data points),
do this:
cd
git clone https://github.com/andreavolpato/agx-emulsion
python -m venv agx
source agx/bin/activate
cd agx-emulsion
pip install -r requirements.txt
pip install -e .
cd src/spektrafilm/data/profiles
wget https://raw.githubusercontent.com/hanatos/vkdt/refs/heads/master/src/pipe/modules/filmsim/mklut-profiles.py
python ./mklut-profiles.py
mkdir -p ~/.config/vkdt/data
cp filmsim.lut ~/.config/vkdt/data
and in any case wire an i-lut module with filename data/filmsim.lut to the
filmsim input connector.
to update the film stock to new upstream data from agx-emulsion, a few steps are necessary:
- the new stock needs to be listed at the top of
mklut-profiles.pybefore running the python script, params.uishould list the film and paper entries in te same order as in the script,- the precomputed white balance values for the enlarger filters have to be computed for the new stock. see the top of
wb.hfor instructions on how to run the optimiser, - if the total number of film stock changed, this needs to be reflected in
head.glsl, the lineconst int s_paper_offset = 15; // first paper in data list/luthas to be the number of films (because the papers come right after that in the same file).
finally, the new filmsim.lut needs to be checked into git, which is done by creating
the compressed version and moving it to the src/ directory:
tar cvJf filmsim.lut.xz filmsim.lut
mv filmsim.lut src/
connectors
inputscene referred linear rec2020 (after the colour module)outputthe exposed, developed, and printed film simulation (or negative)filmsimwire data/filmsim.lut with the film dataspectrawire data/spectra-em.lut, the spectral upsampling table for emission
parameters
this module has a lot of parameters. they are grouped into film options (first block) and print paper options (second block).
processdetermine the input and the output of the processing done here: (0) input raw image and output print on paper, (1) input raw image and output virtual negative, (2) input scan of real film negative and output virtual print on paper.filmthe film id in the datafileev filmexposure correction when exposing the filmg filmgamma correction for exposing the film, use to adjust dynamic range. hidden from gui by defaultgrainswitch grain simulation on or offsizescale the grain sizeuniformuniformity of the grains as seen through the pixels. 1.0 means no variation at allpaperthe paper id in the datafileev paperexposure correction when sensitising the paper, affects shadows more than the film exposureg papergamma correction when sensitising the paper, affects dynamic range and contrast. hidden from gui by defaultenlargeresize the image when exposing the paper: careful with 4x, it requires a lot of memory!filter cwhen exposing the print paper, dial in this share of cyan filter. this parameter is automatically filled by neutral optimisation. set to -1 to fill filter cmy with auto white balance weights for the current film and paperfilter mwhen exposing the print paper, dial in this share of magenta filter. this parameter is automatically filled by neutral optimisationfilter ywhen exposing the print paper, dial in this share of yellow filter. this parameter is automatically filled by neutral optimisationtune mfine tune the magenta filter. think of this as a red/green tinttune yfine tune the yellow filter. think of this as a warm/cold white balance temperaturecouplersamount of developer inhibitor release couplers (affects colourfulness and local contrast)cp radradius of influence of the couplers, as a fraction of the longer side (width or height)halationswitch halation on or off, causing a slight colourful blur around high contrast edgesradiuschange the radius of the halation effectstrengththe strength of the halation effect per colour channel / layer in the filmscalescale the rgb strength of the halation effect in lockstephal midsmidtone protection for halation. this heuristic lets you gradually fade out the effect of halation for darker tones. useful to preserve some extra sharpness outside the highlights. set to 1 for maximum effect, 0 means all tones are affected equally.
licence
spektrafilm profile by Andrea Volpato, licensed under CC BY-SA 4.0. redistribution and derivatives must credit the author, link the project (https://github.com/andreavolpato/spektrafilm), preserve this license, and remain CC BY-SA 4.0. modifications must be noted. full text of the license and attribution requirements
citation
if you use these profiles in your work, please cite the spektrafilm project, see CITATION.cff for details.
datasource
these profiles were created by processing raw measurement data from data-sheets and/or scientific papers. original data are property of the respective holders. film/photo-paper: kodak and fujifilm data-sheets, scientific publications, and technical material. reflectance: hisanari otsu, munsell, human skin, forest colors, japan colors. all data publicly available.
modifications
the vkdt datafile lut has been generated from the spektrafilm profile/*json
using a half assed python script found here.
the implementation has been done in a best effort kind of sense, with some
changes for efficiency (for instance the grain model was swapped out), as well
as ui and parameters (e.g. scale of enlarger filters). if you find gross
differences between spektrafilm and vkdt please let us know, this is probably
not intentional.