how to efficiently work through many images
when coming back from an event or field trip, photographers are often confronted with thousands of images and the task to select a few keepers for further postprocessing. this can be time-consuming and in general daunting because of the sheer amount of work.
the following presents an example workflow that has been proposed by your friendly darktable community.
import from flash cards
the files view in vkdt provides some basic tools to mount/unmount flash
cards and run (several parallel) import jobs in the background which copy files
from the mounted locations to a specified folder on your harddrive. if this
isn't for you, you can just copy and admin your images as you prefer (for
instance using rapid photo downloader).
you can already start looking at your (already copied) images in lighttable or
darkroom views while vkdt is still copying the rest.
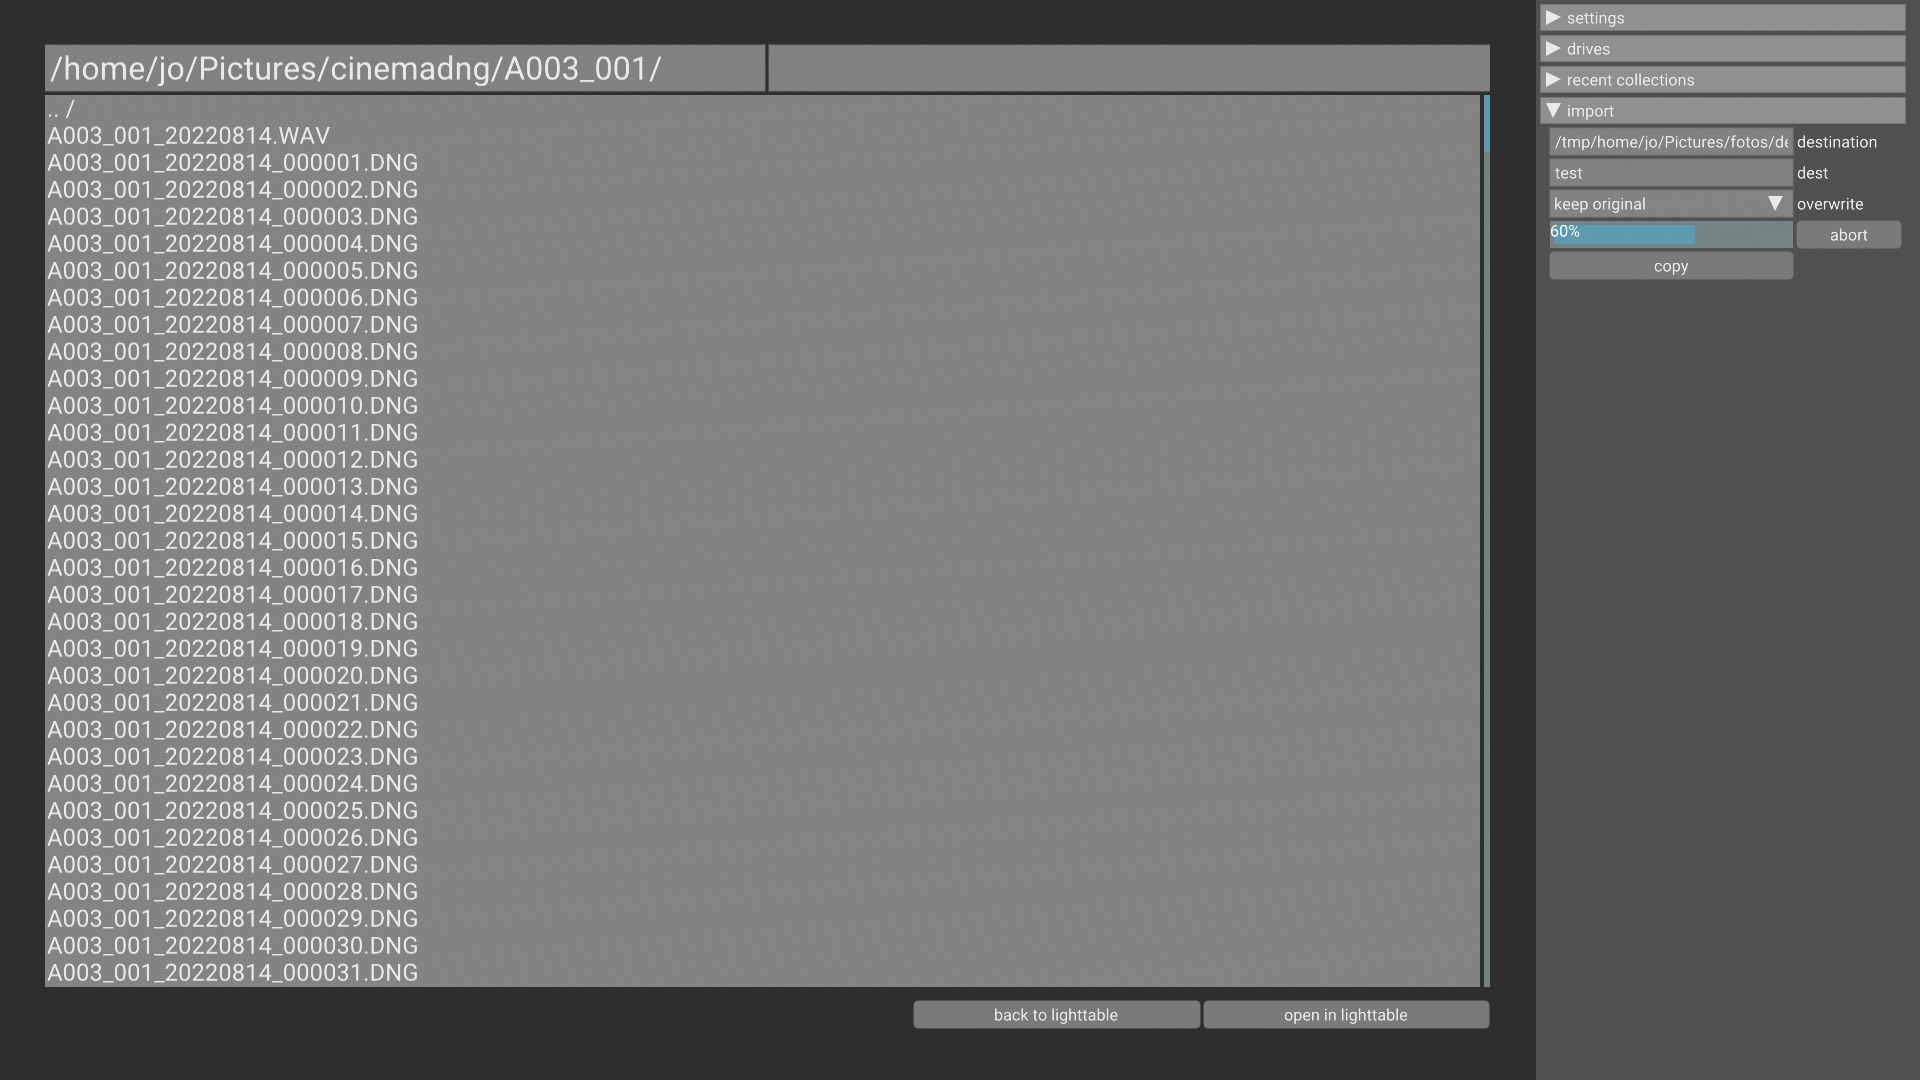
this screenshot shows the import in progress in the files view:
oops, you've imported old files that were still on your memory card? don't worry,
the files expander in lighttable mode allows you to select a bunch and move
them away to another folder after the fact. note that you could conceivably do
it this way in the first place: open the mounted memory card in lighttable mode
and just move away or copy selected images from there. this seems useful because
you can actually see the thumbnails and you can use advanced collection/filtering.
on the downside the memory card reader is probably very slow.
sorting images
you can sort images by create date, to view them in chronological order.
if you used multiple cameras during acquisition, they might have inconsistent
clocks. to counter this, vkdt supports time stamp offsets per folder.
you can put extra lines into vkdt.db to specify the offset for each
camera model. this is an example:
time offset:Fujifilm X100T:0:0:0:0:0:-15375600
time offset:Canon EOS 5D Mark II:0:0:0:0:0:-3600
time offset:MOTION:0:0:0:0:0:-7200
MOTION stands for mcraw raw videos created by the motioncam app. the six
numbers after the camera model are (signed) values for year, month, day, hour,
minute, and seconds. since it's a bit wacky to convert seconds to years/months
and the other way around, this assumes a static 30 day month and a static 365
day year. you can also just give the offset in seconds, as done above.
tools for rating
to rate images both in lighttable and darkroom views, there are keyboard hotkeys. the default is the numbers: 0 for zero stars, 1 to assign one star, 2 for two (you get the idea). you can configure that for lighttable and darkroom mode individually in the settings → hotkey menu.
in darkroom mode, there are also hotkeys for combined upvote and advance and downvote and advance which will increase or decrease the star rating and go to the next image. these bindings lend themselves to a workflow where you would go over your list of images iteratively, by up or downvoting them.
using the collection interface in lighttable mode, you can restrict the list to only images with a certain rating after you have finished a pass.
during a rating pass, to view an image full screen without distracting ui controls, you can hide the right panel in darkroom view by pressing the tab key.
techniques against fatigue
especially when reviewing a large number of very similar images, it can be tiresome to work through the list. it is therefore essential to have strategies against this reviewing fatigue. here are some ideas.
small groups
reducing the number of images visible in the current collection has a big psychological impact. going through a few tens of images seems much more a doable task than looking at say 1000. it is thus a good idea to break down the long list into smaller groups.
one idea is to go through your images day by day. this workflow is supported by the collection interface in lighttable mode. if you sorted your collection by date, there will be button next to the filter by date entry to generate one quick access button for every day in the current collection.
if a single day is not fine grained enough, or there are many very similar photos for a different reason, assign such groups a temporary colour label, filter by this label, and then select the best shot. similar to star ratings, labels can be assigned via hotkeys to be configured in both lighttable and darkroom modes. the default keys are the function keys f1..f5.
randomise the work
if the whole bulk of images is too much to work on, maybe there are random groups or sub-events that catch your attention. in this case one approach is to first assign one star to all images to signify: you did not look at this image yet, it is unrated. you can then select a random list of images to use the upvote/downvote workflow. this results in a list of zero-rated images and one of 2-rated images, so for future passes it is clearly apparent that you already rated these images.
casual interfaces
to be comfortable with your worflow, it might be good to assign convenient individual keyboard shortcuts.
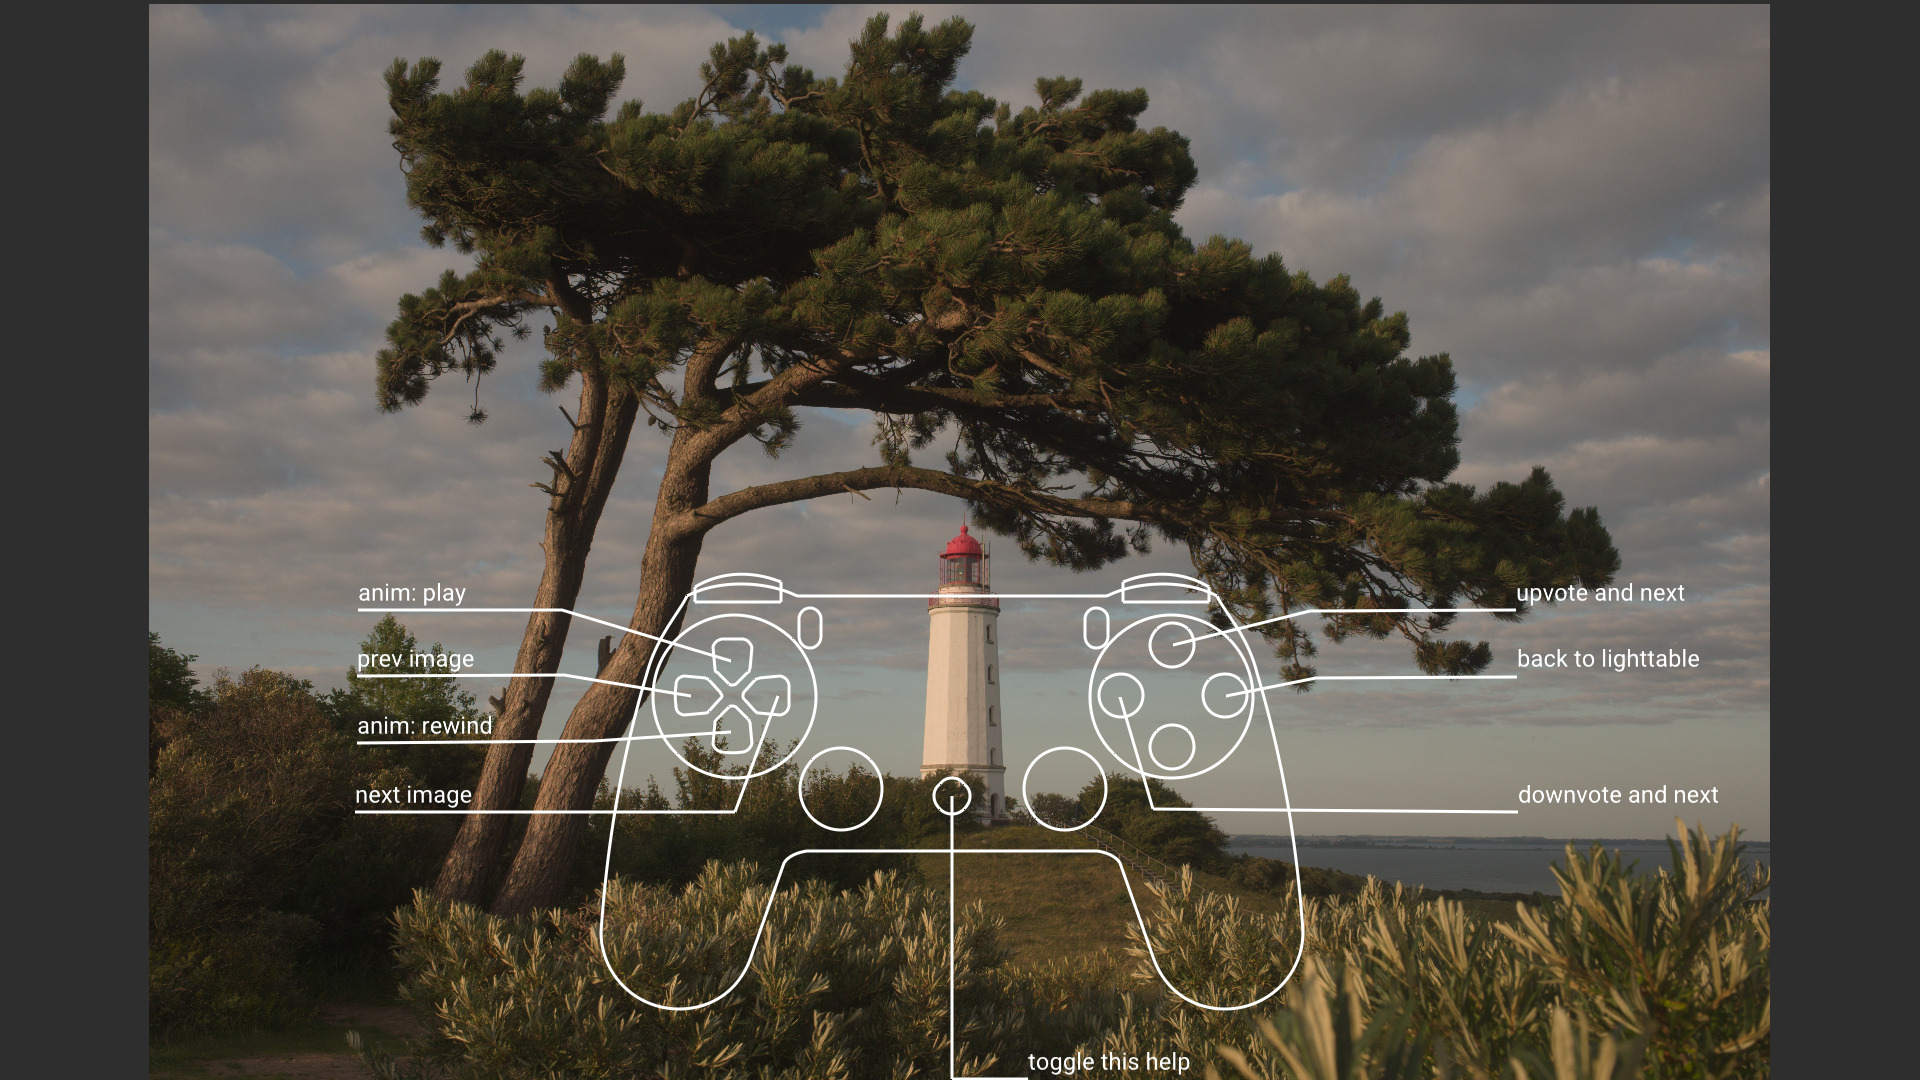
vkdt also offers a gamepad interface for a different approach. this works with bluetooth controllers while sitting on a couch with a larger monitor (projector, television?).
export
it is sometimes beneficial to look at your images in a different context, or export a contact sheet or a gallery for your friends and family to look at.
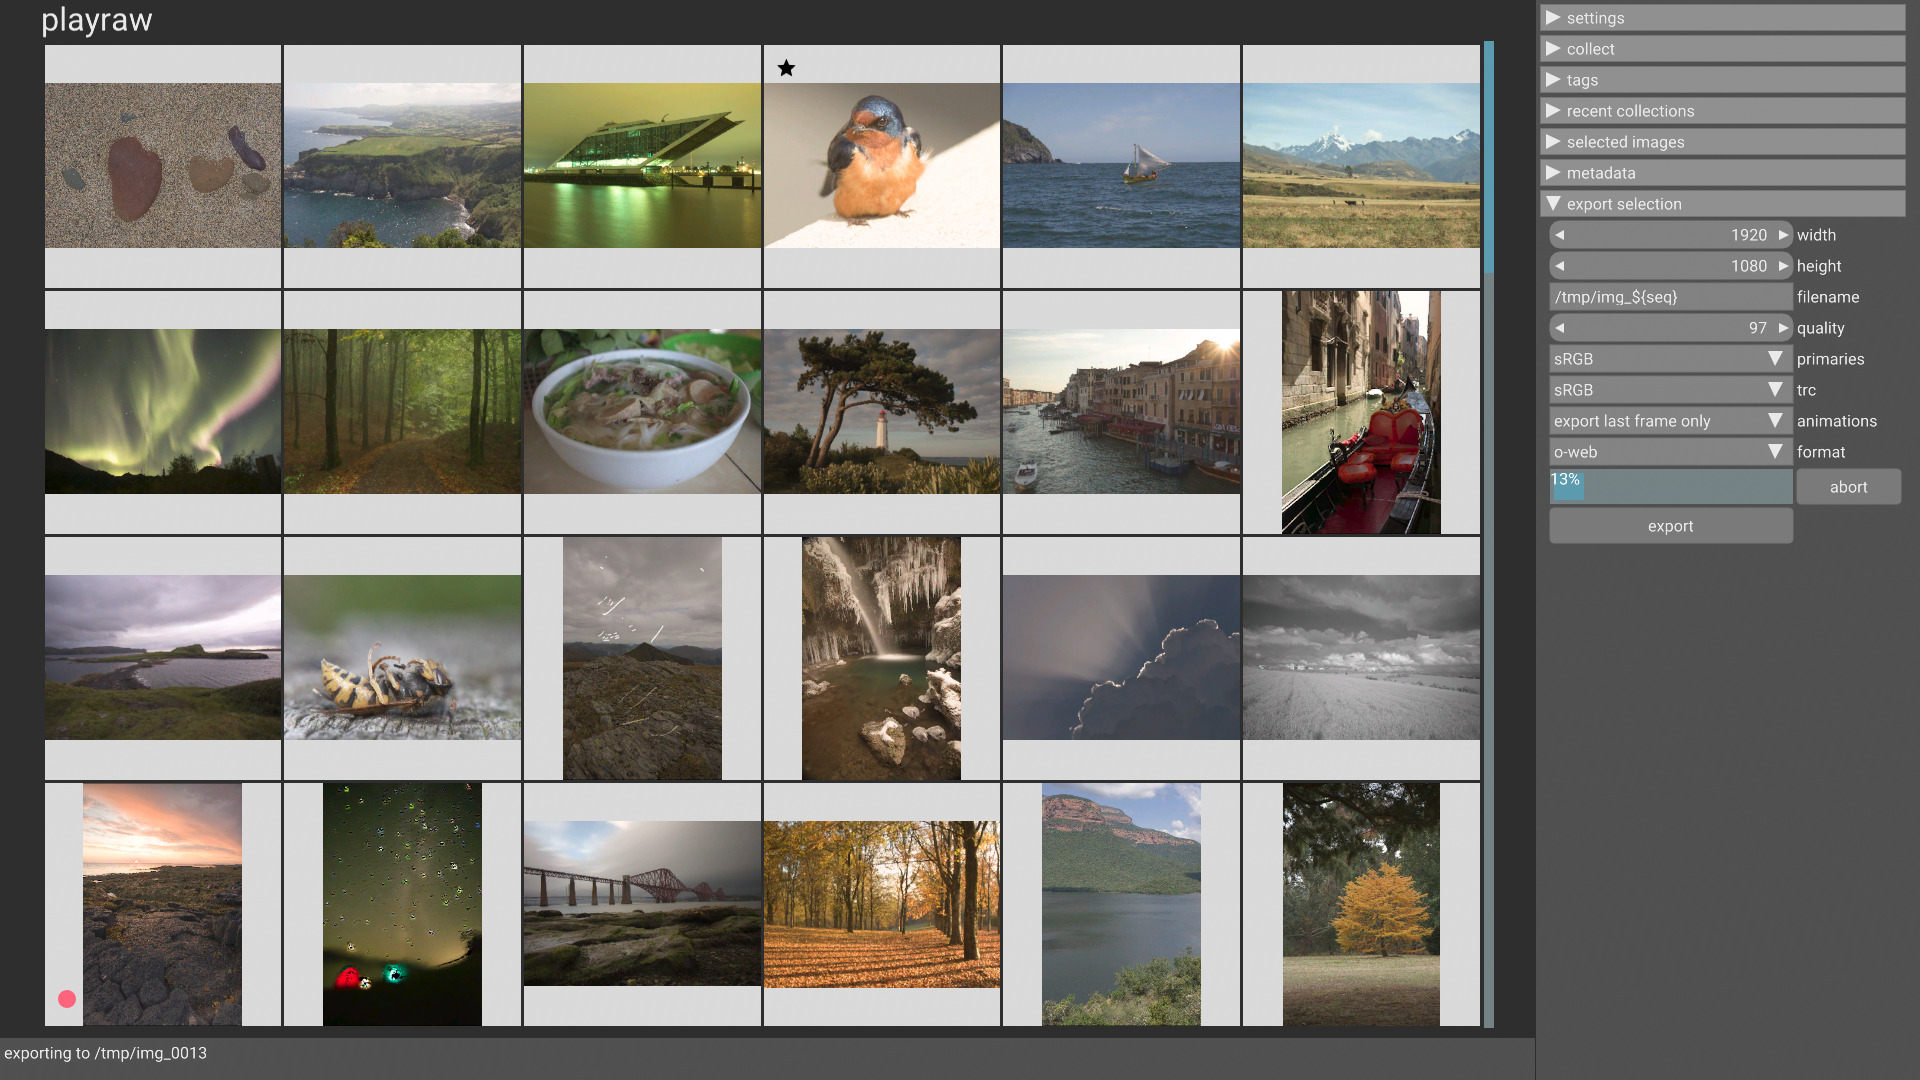
vkdt has a special output module, o-web which will export jpg and mp4 video
files, depending on the input type.
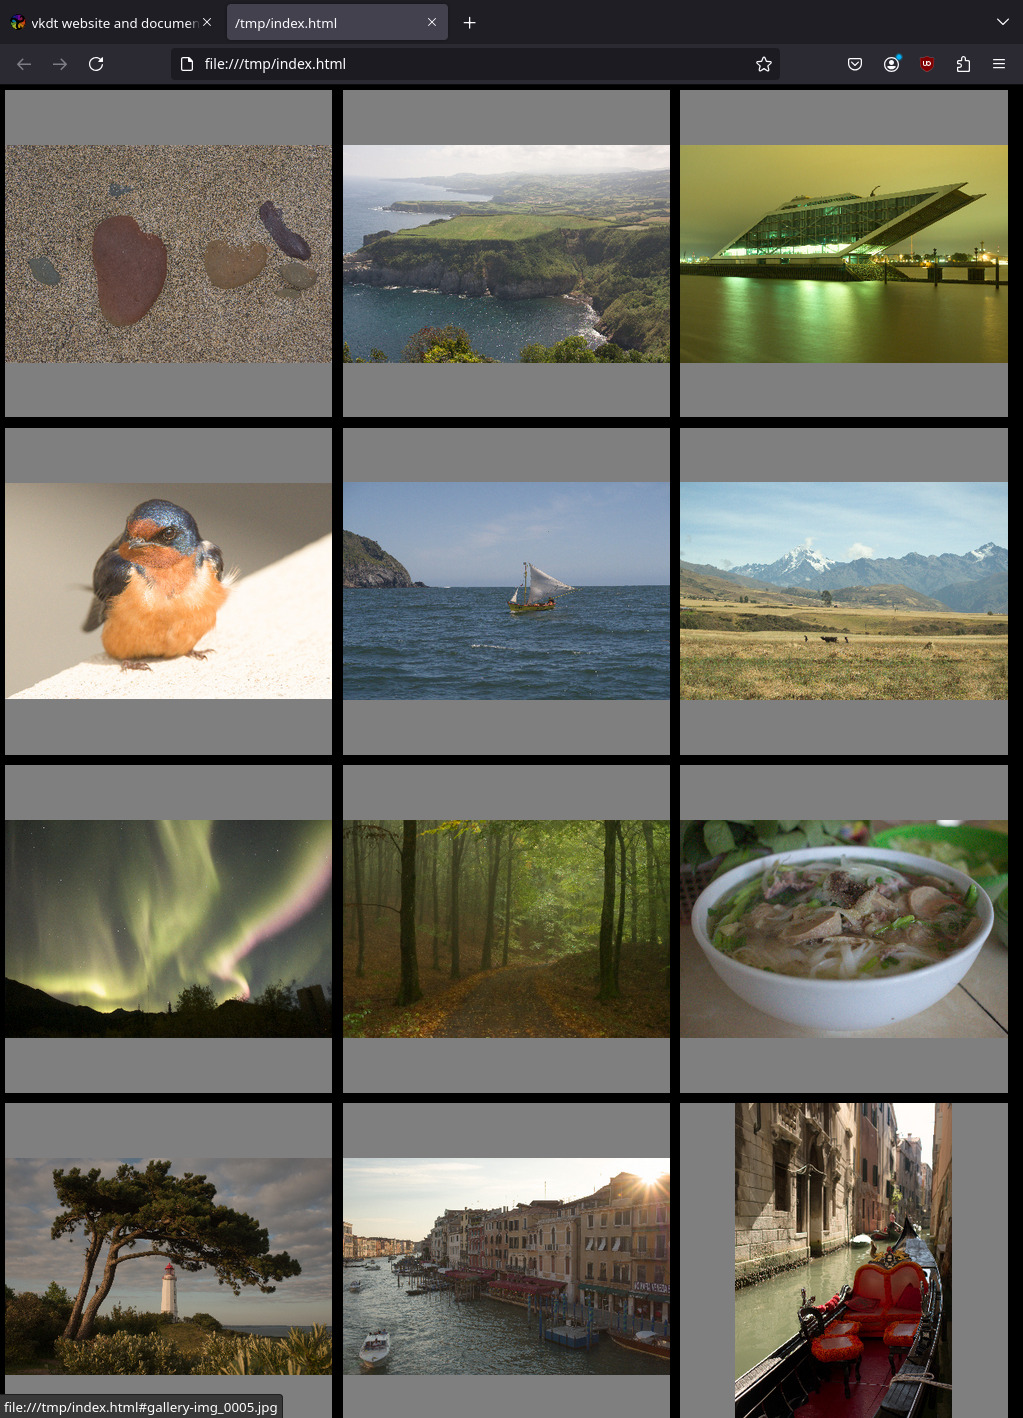
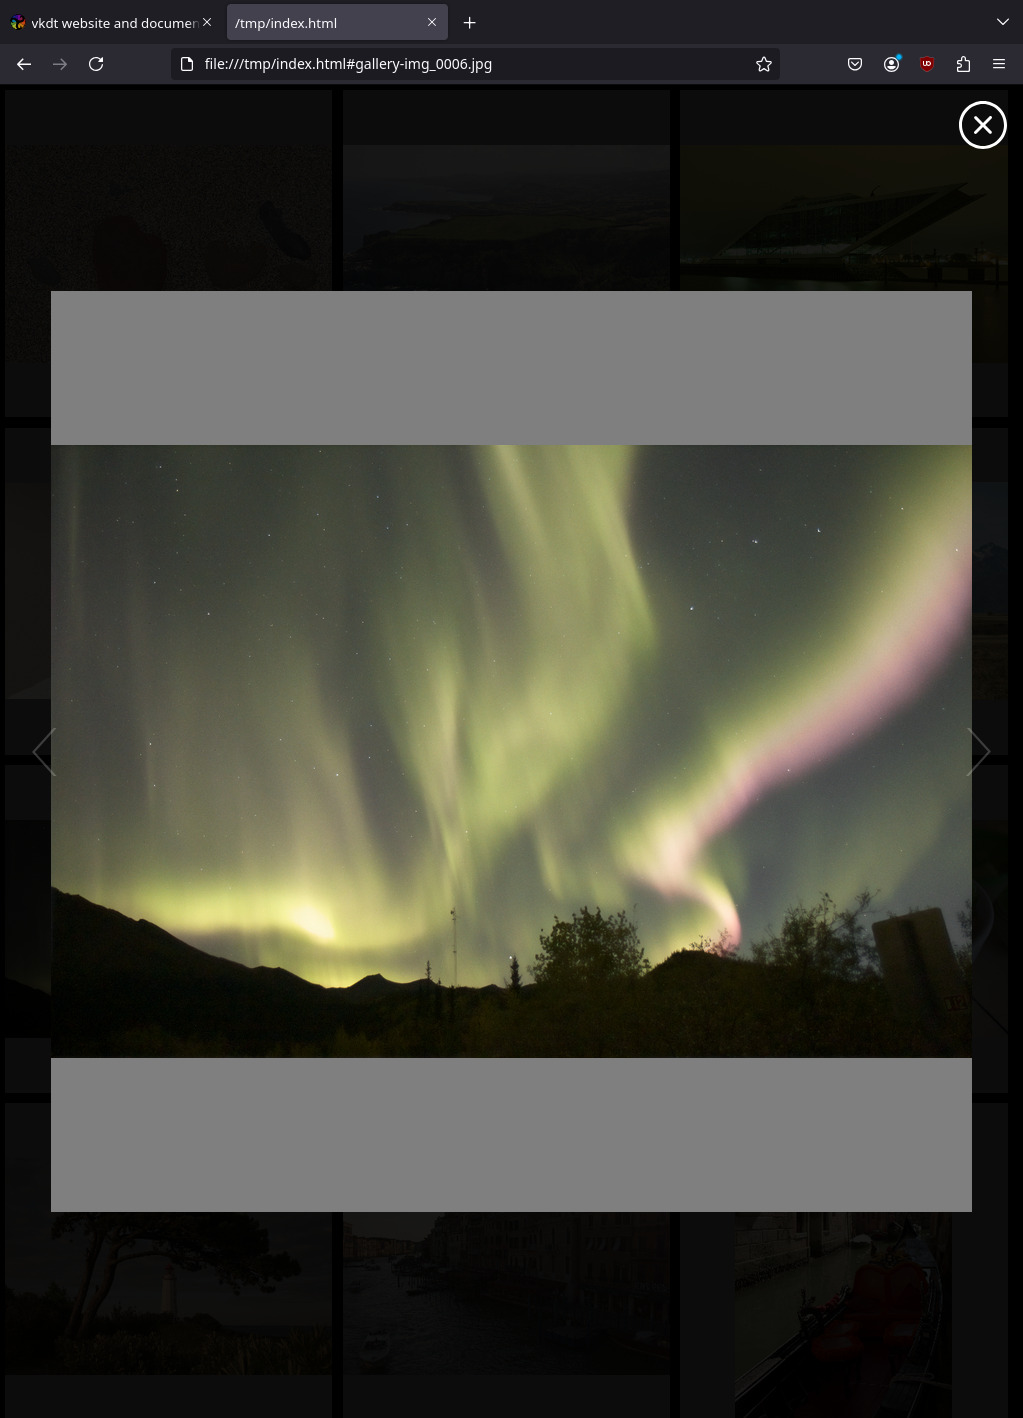
this list can then be viewed in the external image viewer of your choice. you can also navigate to this directory and execute
$ vkdt gallery
to create an html gallery to be viewed in browsers. this is what it will look like in firefox (though you're of course free to tweak the css at will):
congratulations, you just finished a full front-to-back initial review pass over your images!